Introduction
Recently, I decided to explore the circle packing algorithm, which is a technique for placing circles in a space without overlapping. There are different interpretations and implementations of the algorithm that can produce different results, and in this article, I will share my experience on how I replicated my version of it in Houdini and rendered the results in Unreal to create hypothetical wallpapers.
Circle-packing algorithms have a broad range of applications in computer graphics, including game development (distributing a set of objects without overlapping for example), visualization, and art, to name a few.
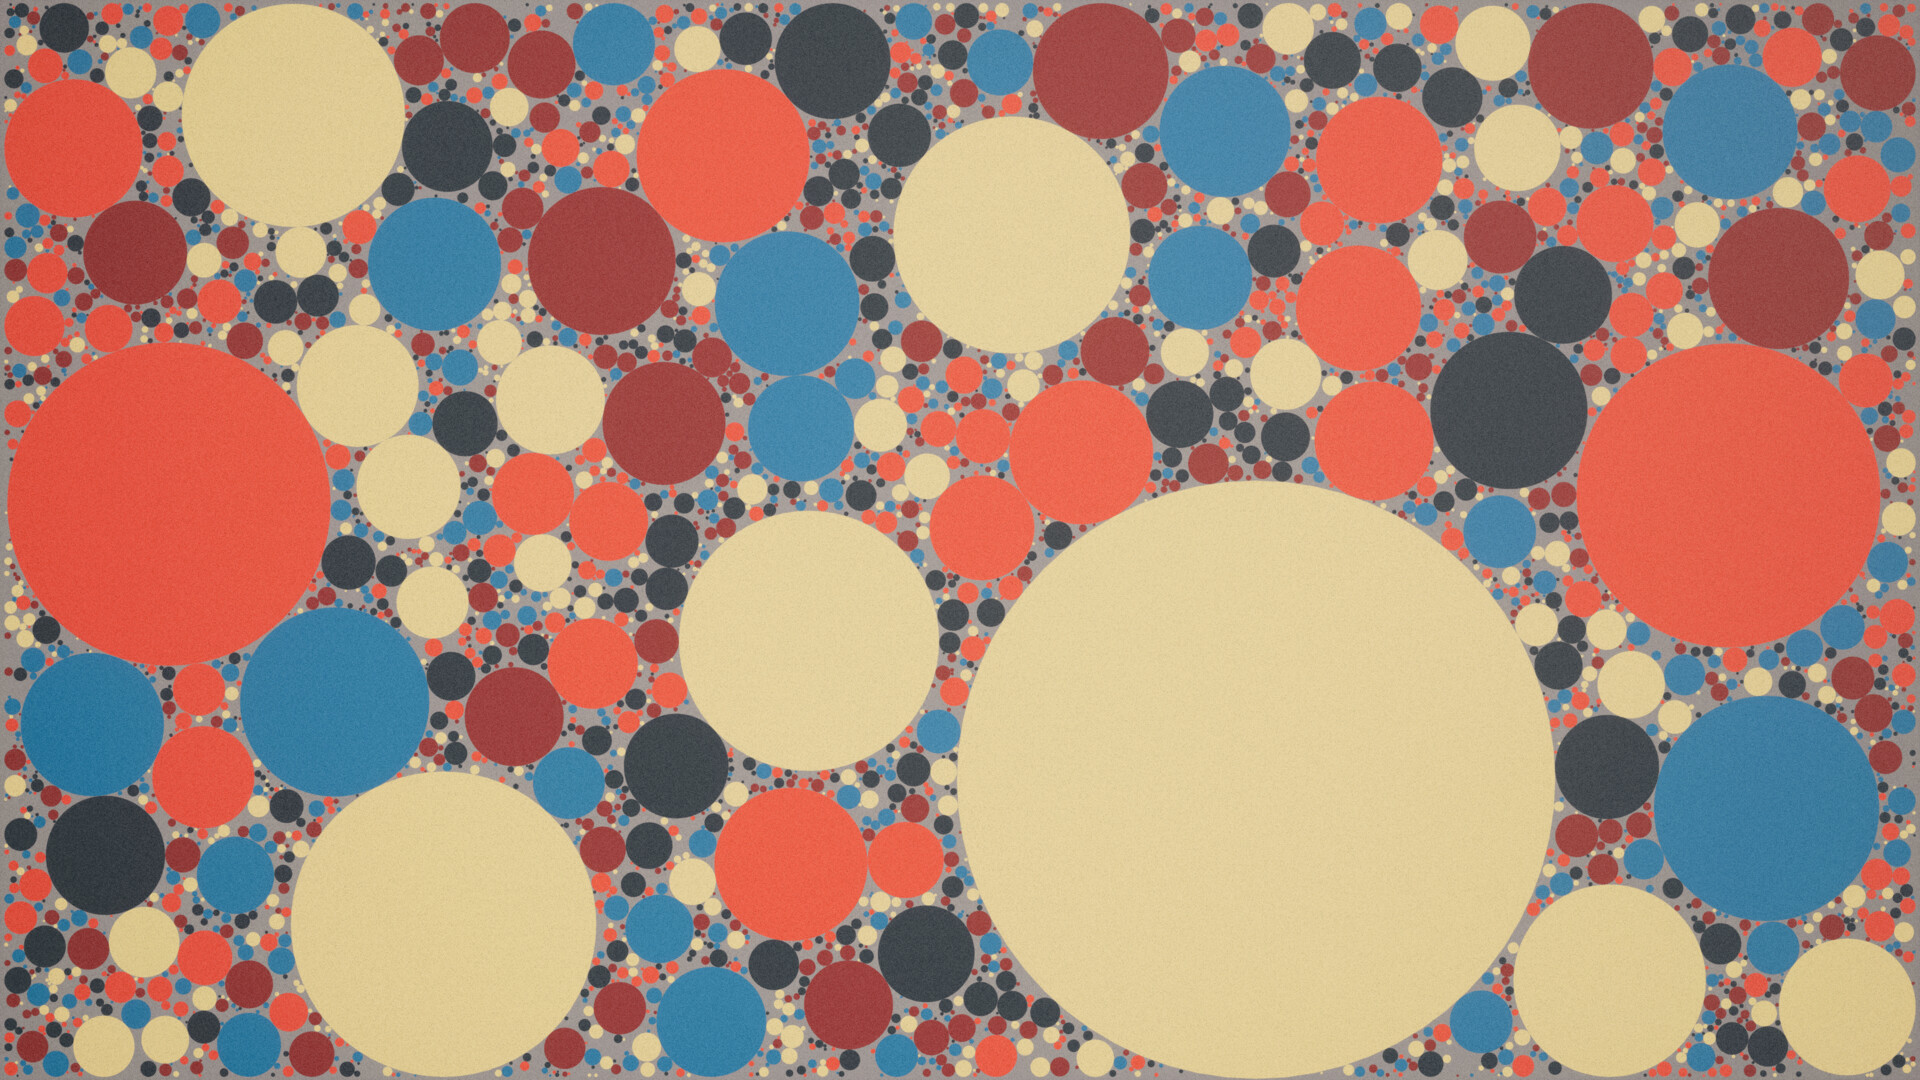
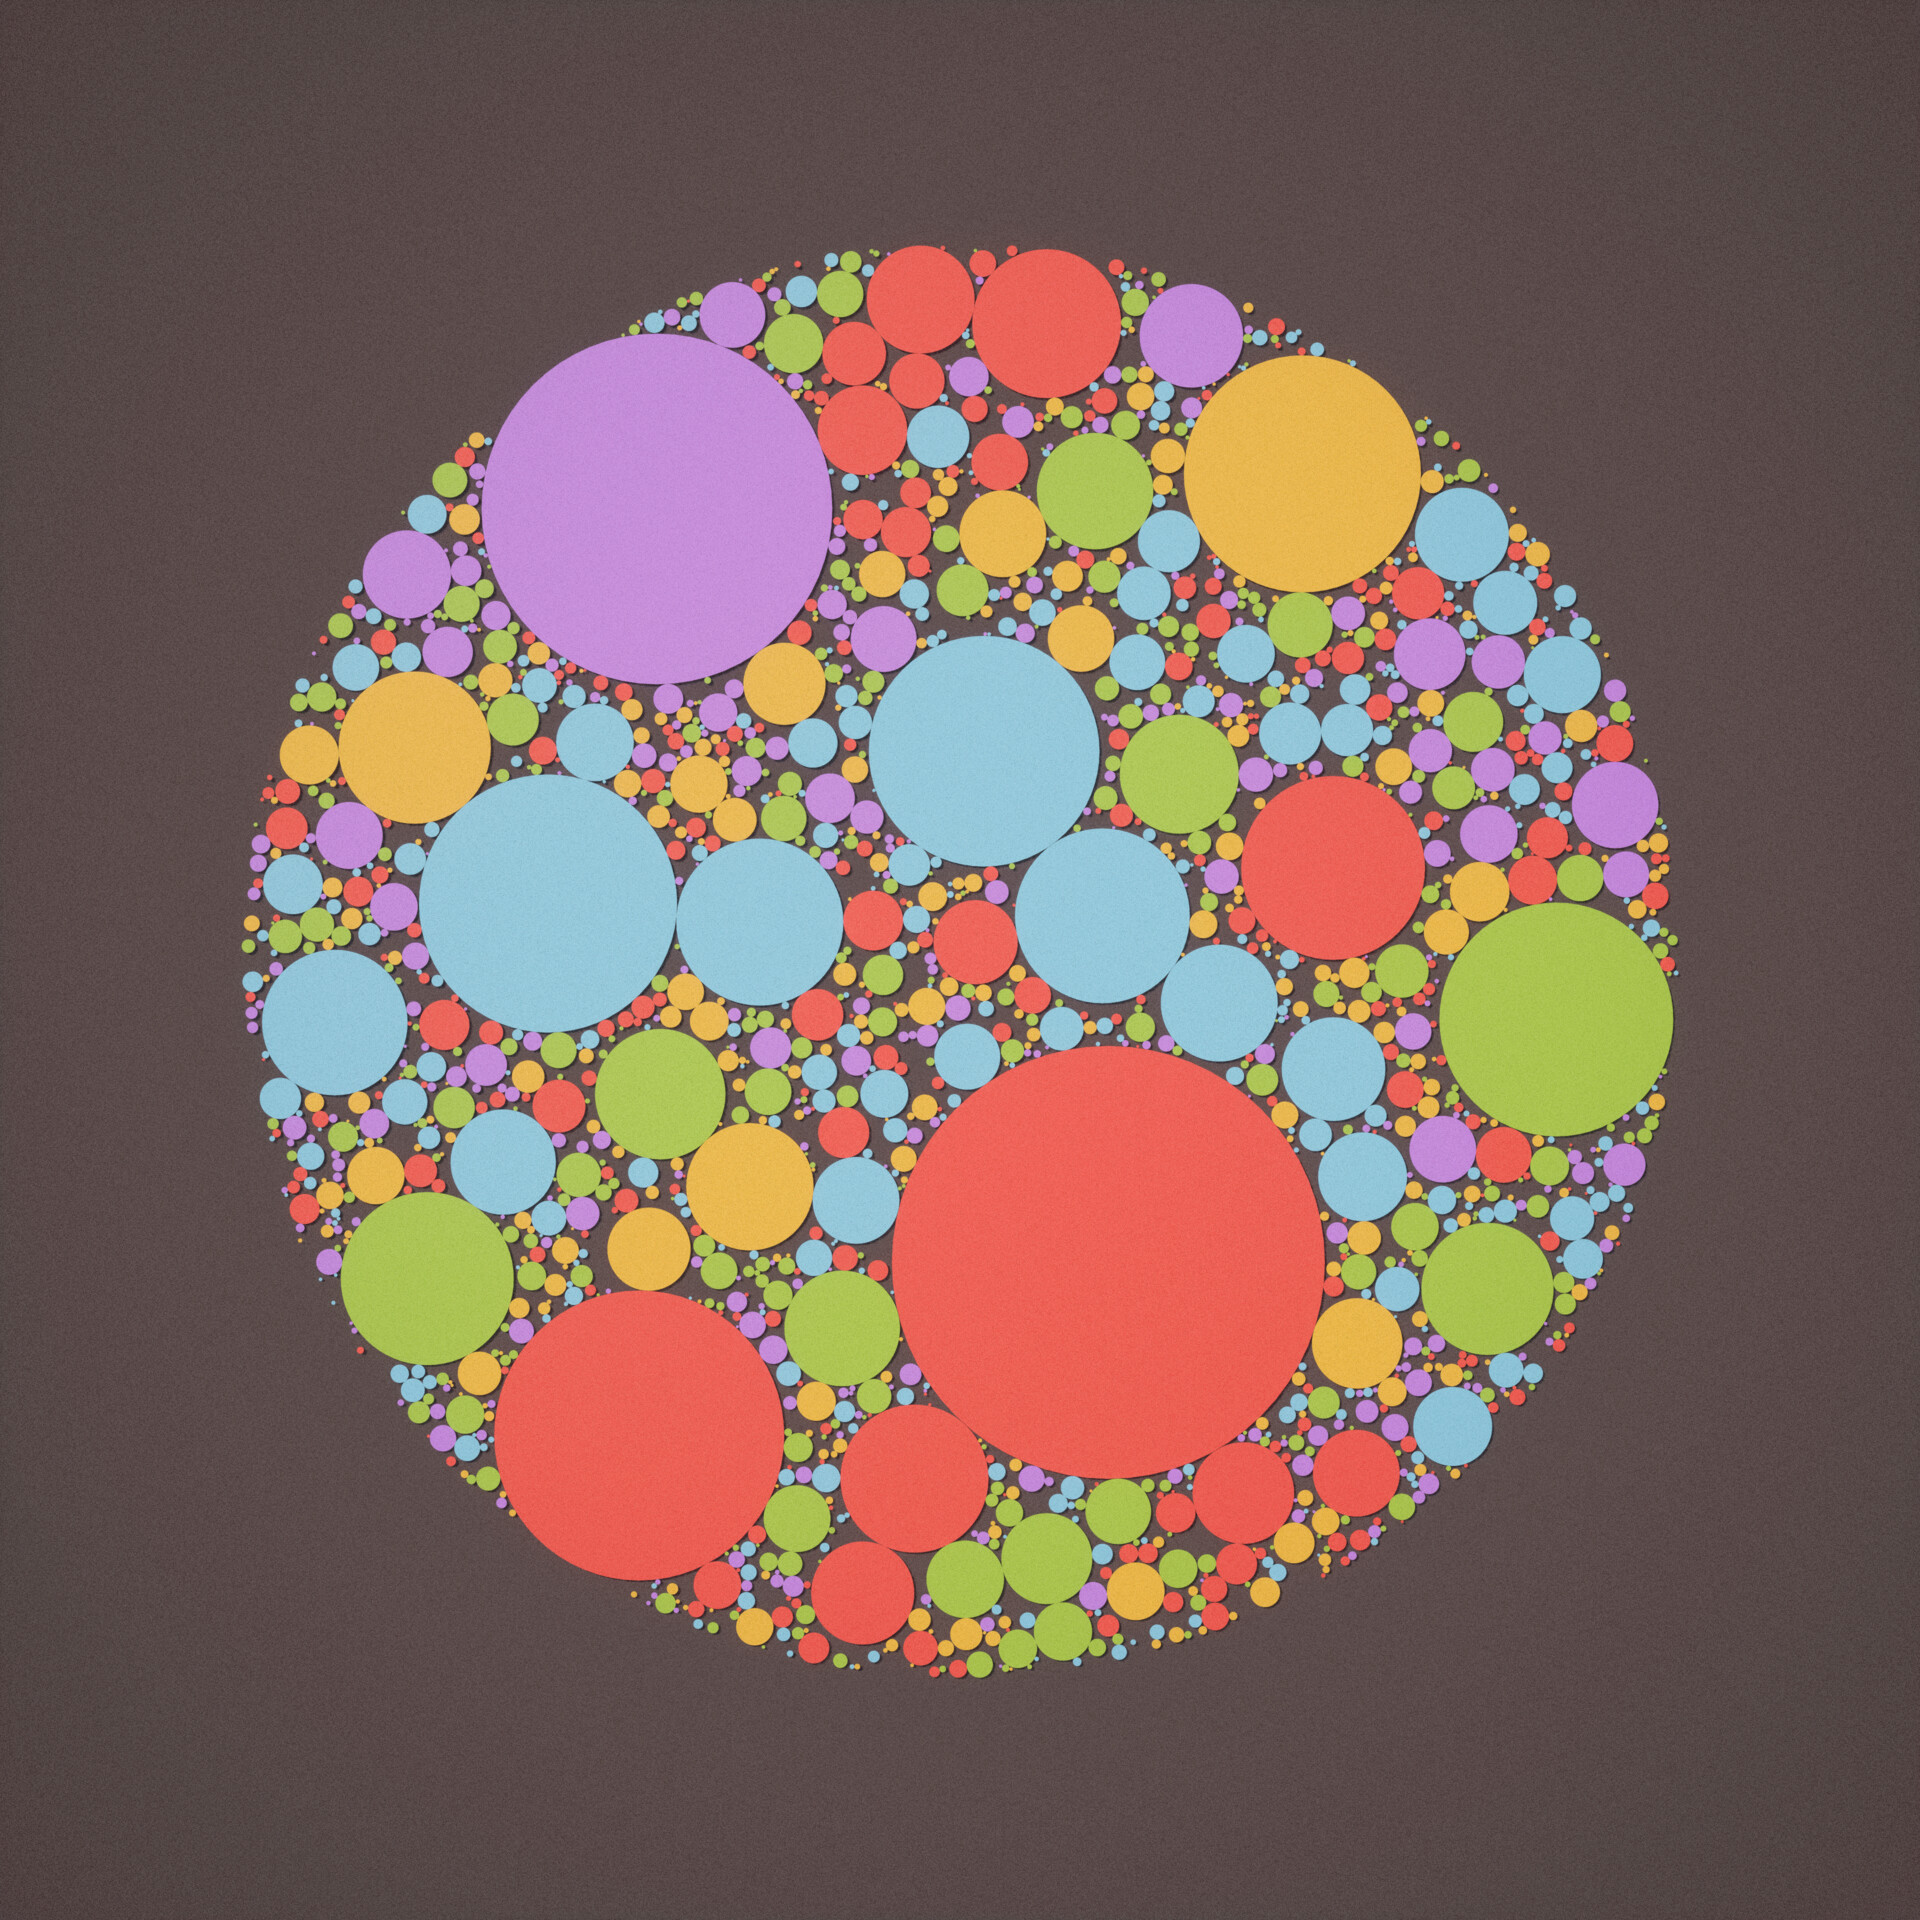
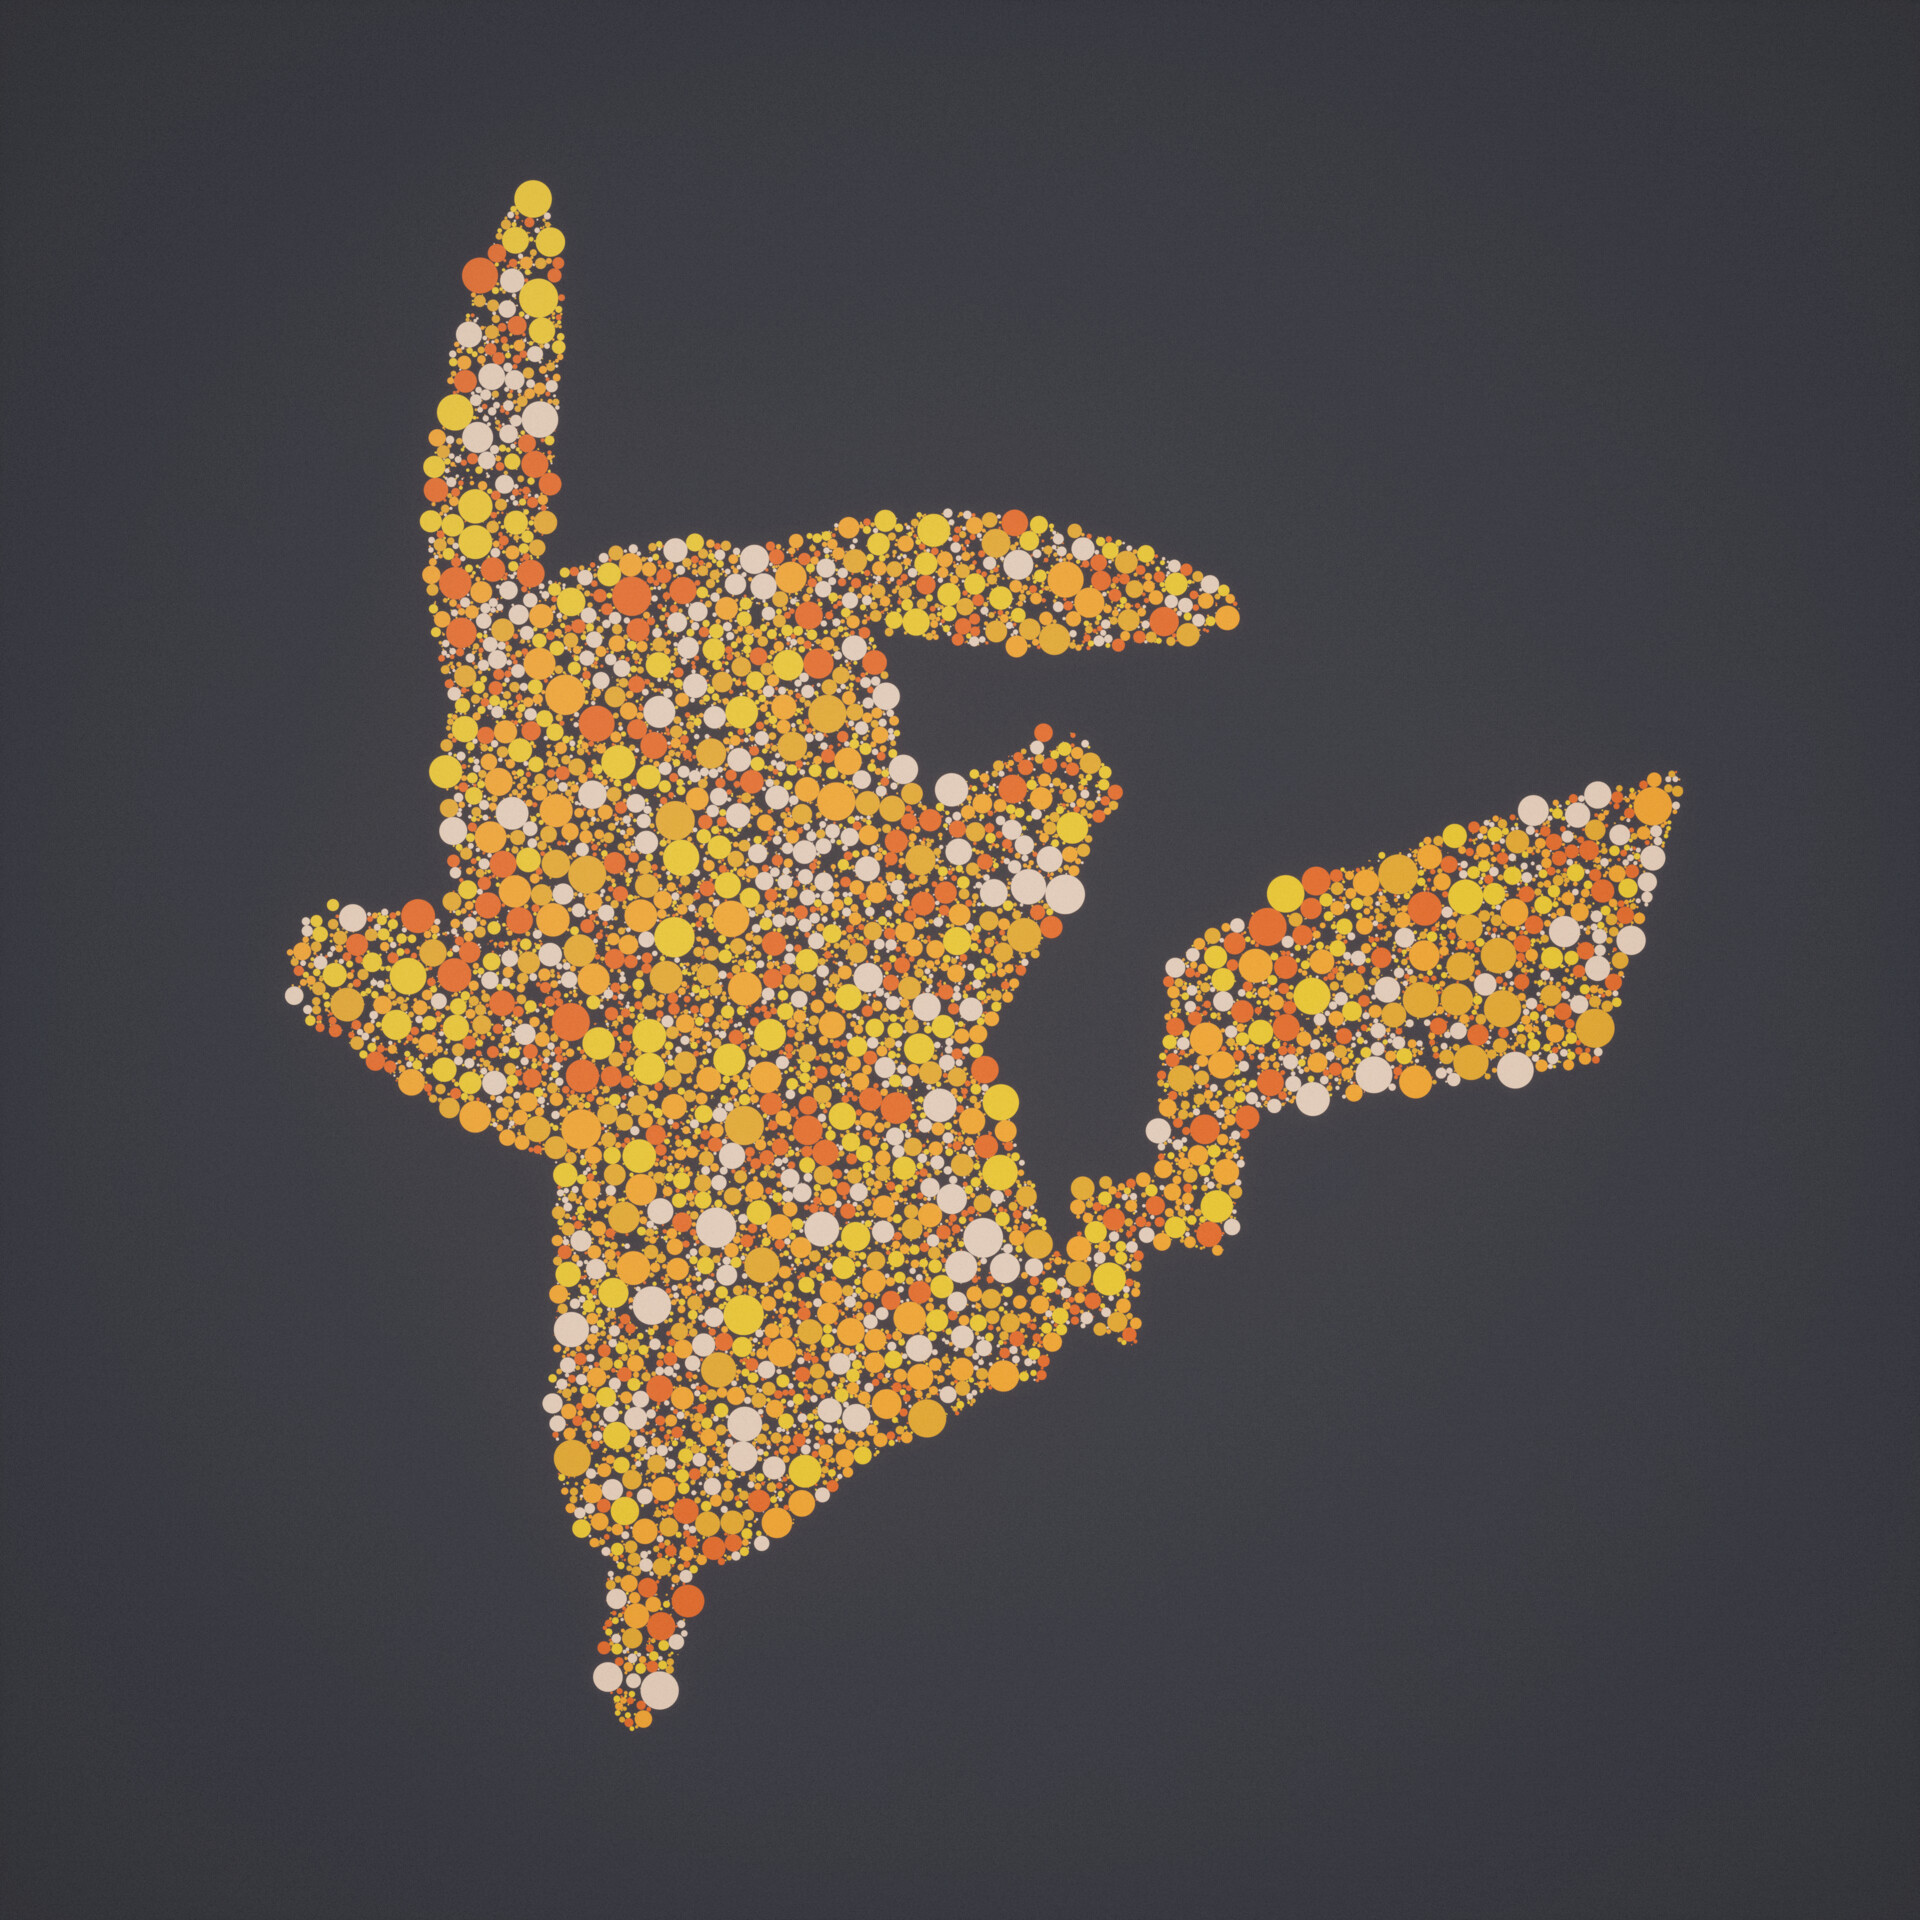
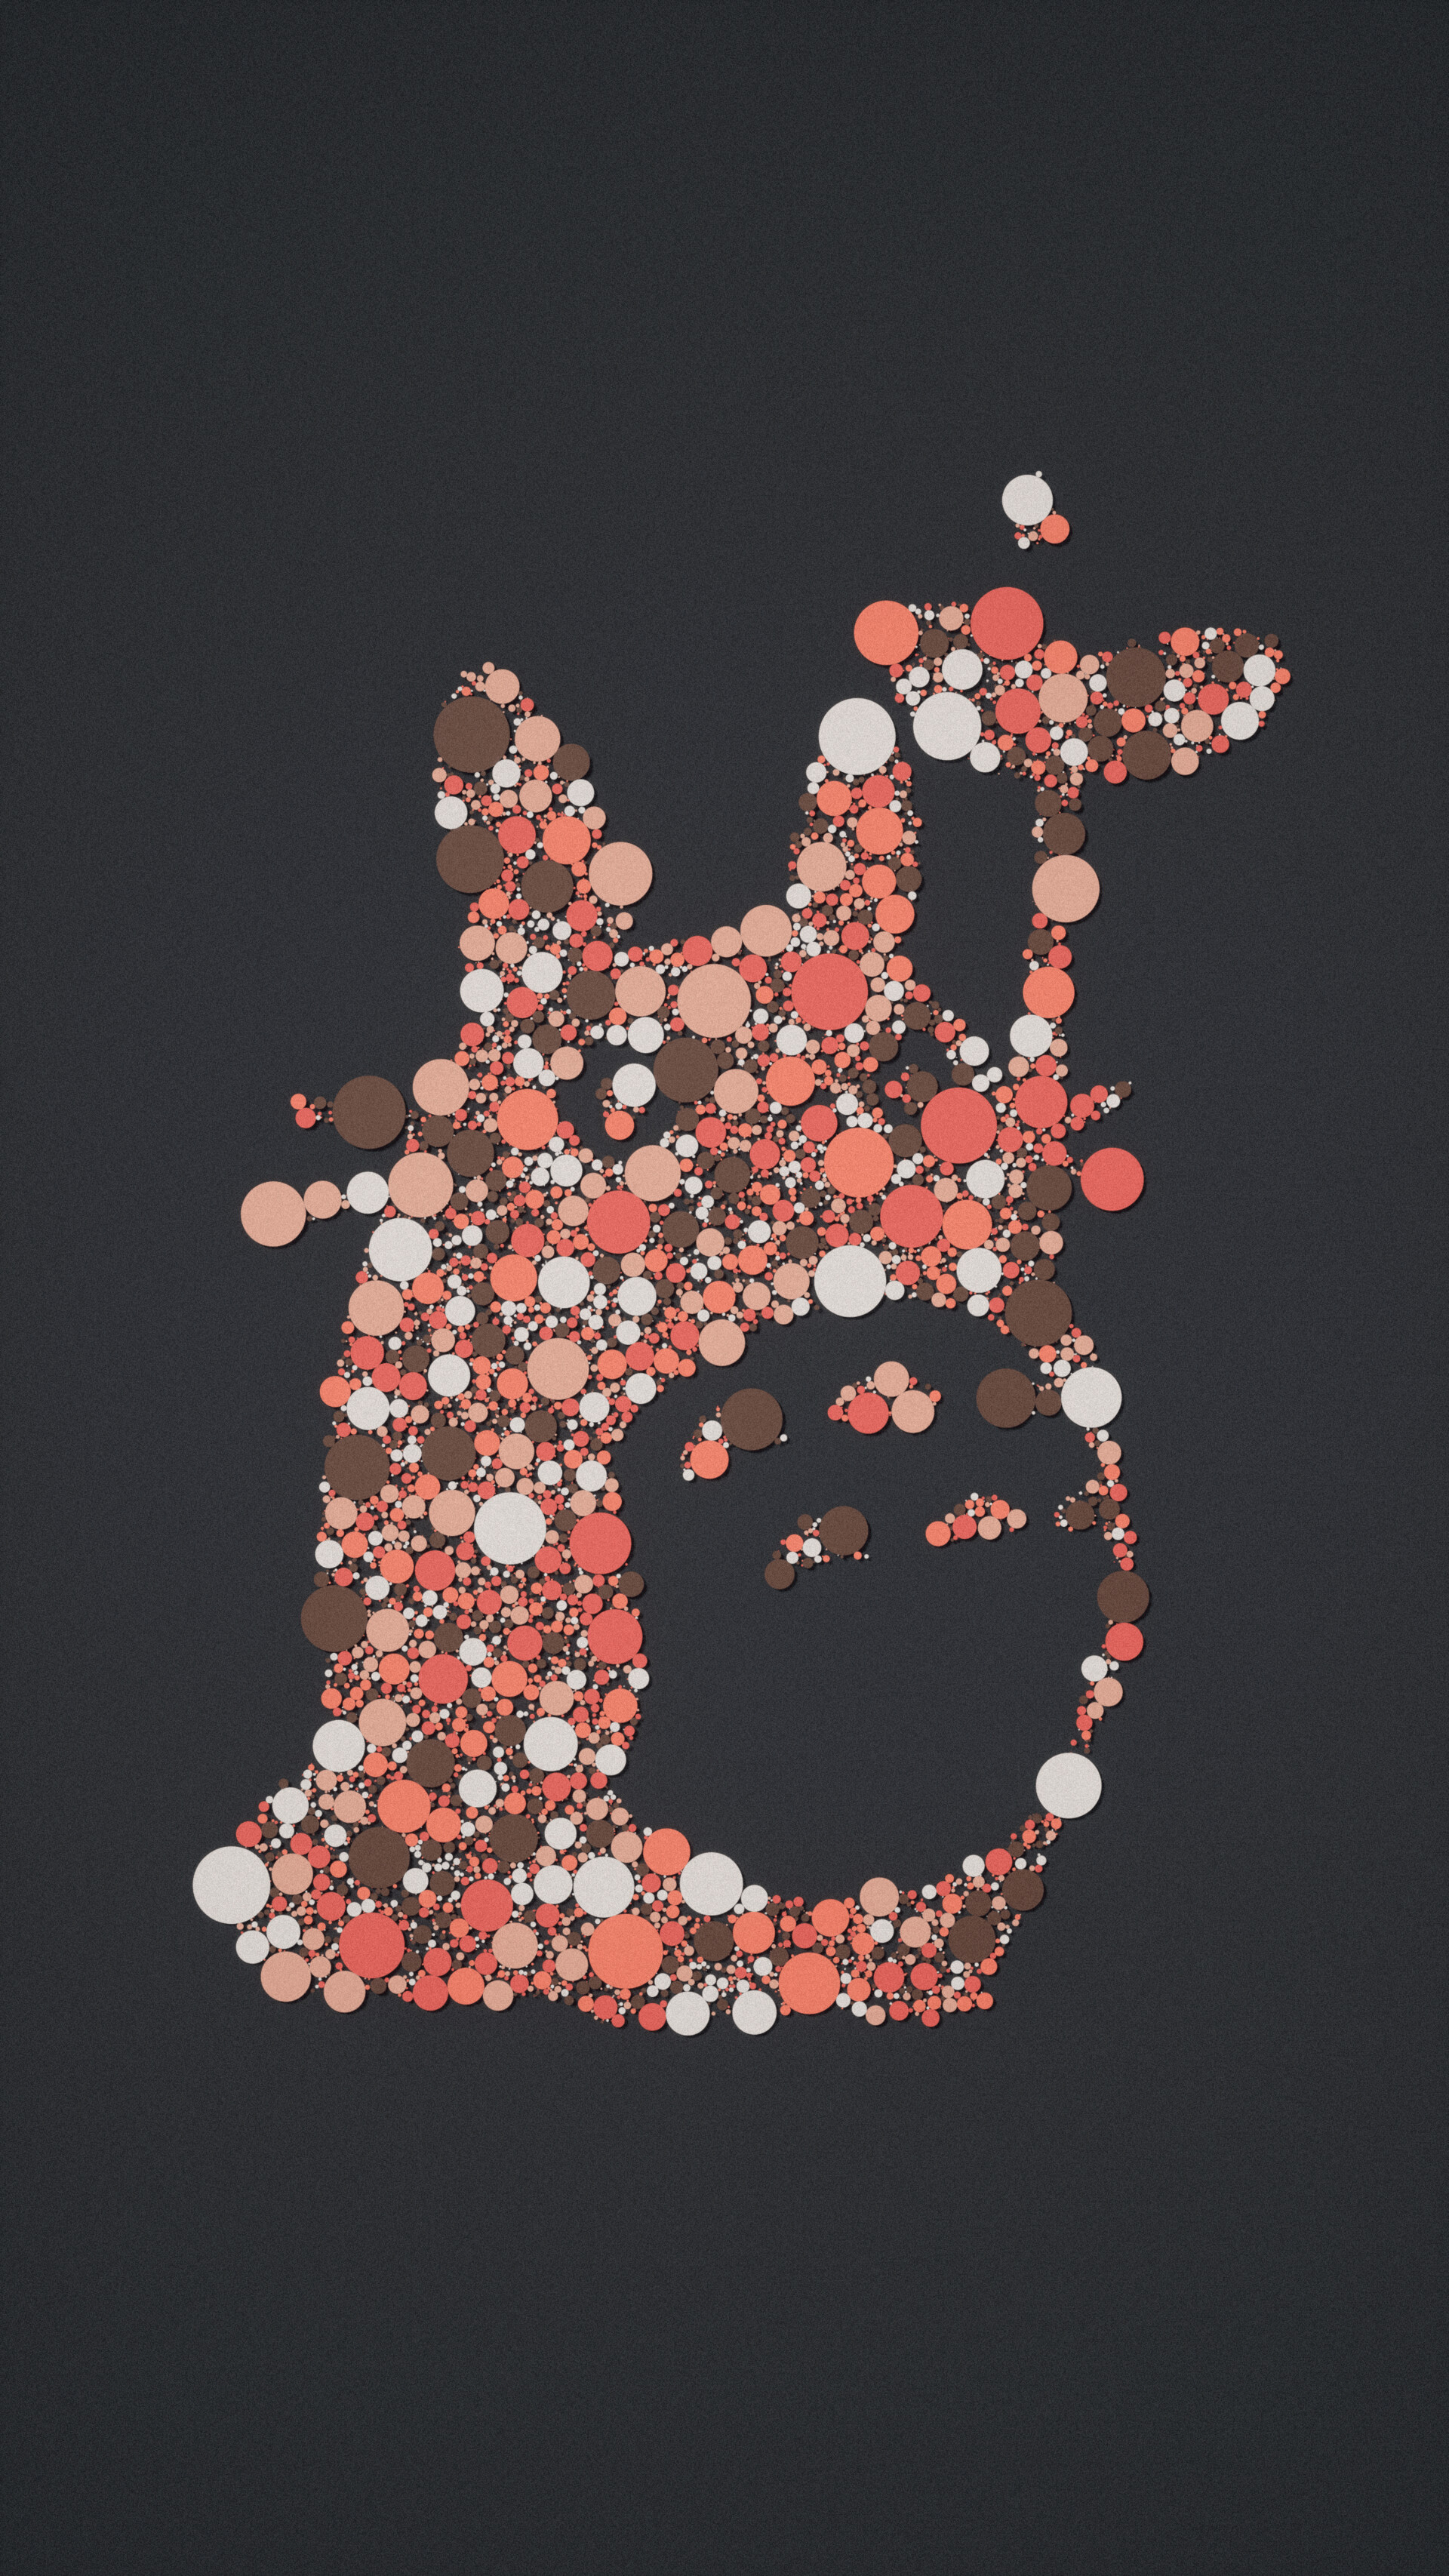
These wallpapers demonstrate the capabilities and beauty of this algorithm. I hope they will inspire others to experiment and create their own artwork using this technique.
Results
After a few hours of problem-solving and experimenting with various techniques and parameters, I successfully generated and rendered a diverse set of wallpapers using my version of the circle-packing algorithm. I've attached them below for your reference.
The Process
Tools Used
- Houdini.
- Unreal Engine 5.1
Description
Houdini's procedural scripting and modeling capabilities made it an ideal choice for this project, as I was able to replicate this with a couple of "Attribute Wrangle" nodes and a copy to points at the end to create the circles. I made my own algorithm inspired by Matsys Design's implementation with a couple of differences to fit my needs.
The inputs are the following:

- Surface Polygon: Needs to be plugged into the subnetwork.
- Strict Outline: Should the algorithm consider the boundaries of the mask as a strict boundary or should it just use it as a guide, allowing some radii of some circles to go over.
- Iterations: Not the number of circles, but the number of times it will attempt to add a new circle.
- Maximum Radius: Maximum radius for the circles.
- Minimum Radius: Minimum radius for the circles.
- Multiplier: This was to tweak the final overall radii of the circles but I ended up not using it.
First, the algorithm gets the maximum and minimum radii from the parameters exposed in the subnetwork. Then, it gets the surface polygon and adds a circle of maximum radius to it making sure that it does not go over the limits. After that, in a detail wrangle, a random seed value is generated, and a new point is added to a random position on the surface. The radii attribute of each new point is assigned a random value within the range of the minimum and maximum radii.
Next, the distance between the new point and all the closest existing points is calculated. If the distance is smaller than the radius of one of the other points, it means that the new point is inside a circle and should be removed.
Afterward, the distance is compared again to see if it's bigger or smaller than the sum of the radius of the new point and the current point being analyzed. If it's bigger, the point is considered valid and added with the previously generated radii value. If the distance is smaller, it means that both circles would be overlapping, so I calculate the difference, and the radii value of the new point is adjusted.
Finally, depending on whether the outline should be strictly considered or not, the radius of the new circle is checked to see if it falls outside the mask. If it does, the size is reduced by an appropriate amount to make sure the circle stays within the designated boundaries. This process is repeated until the number of iterations is met.
After this whole process, I have a bunch of points with a radii point attribute. The only thing left to do to visualize the results is to add a "Copy to Points" node using the radii as a scale for the circles.
The cool thing is that you can drop the same wrangles inside a solver to visualize the process as a sequence.
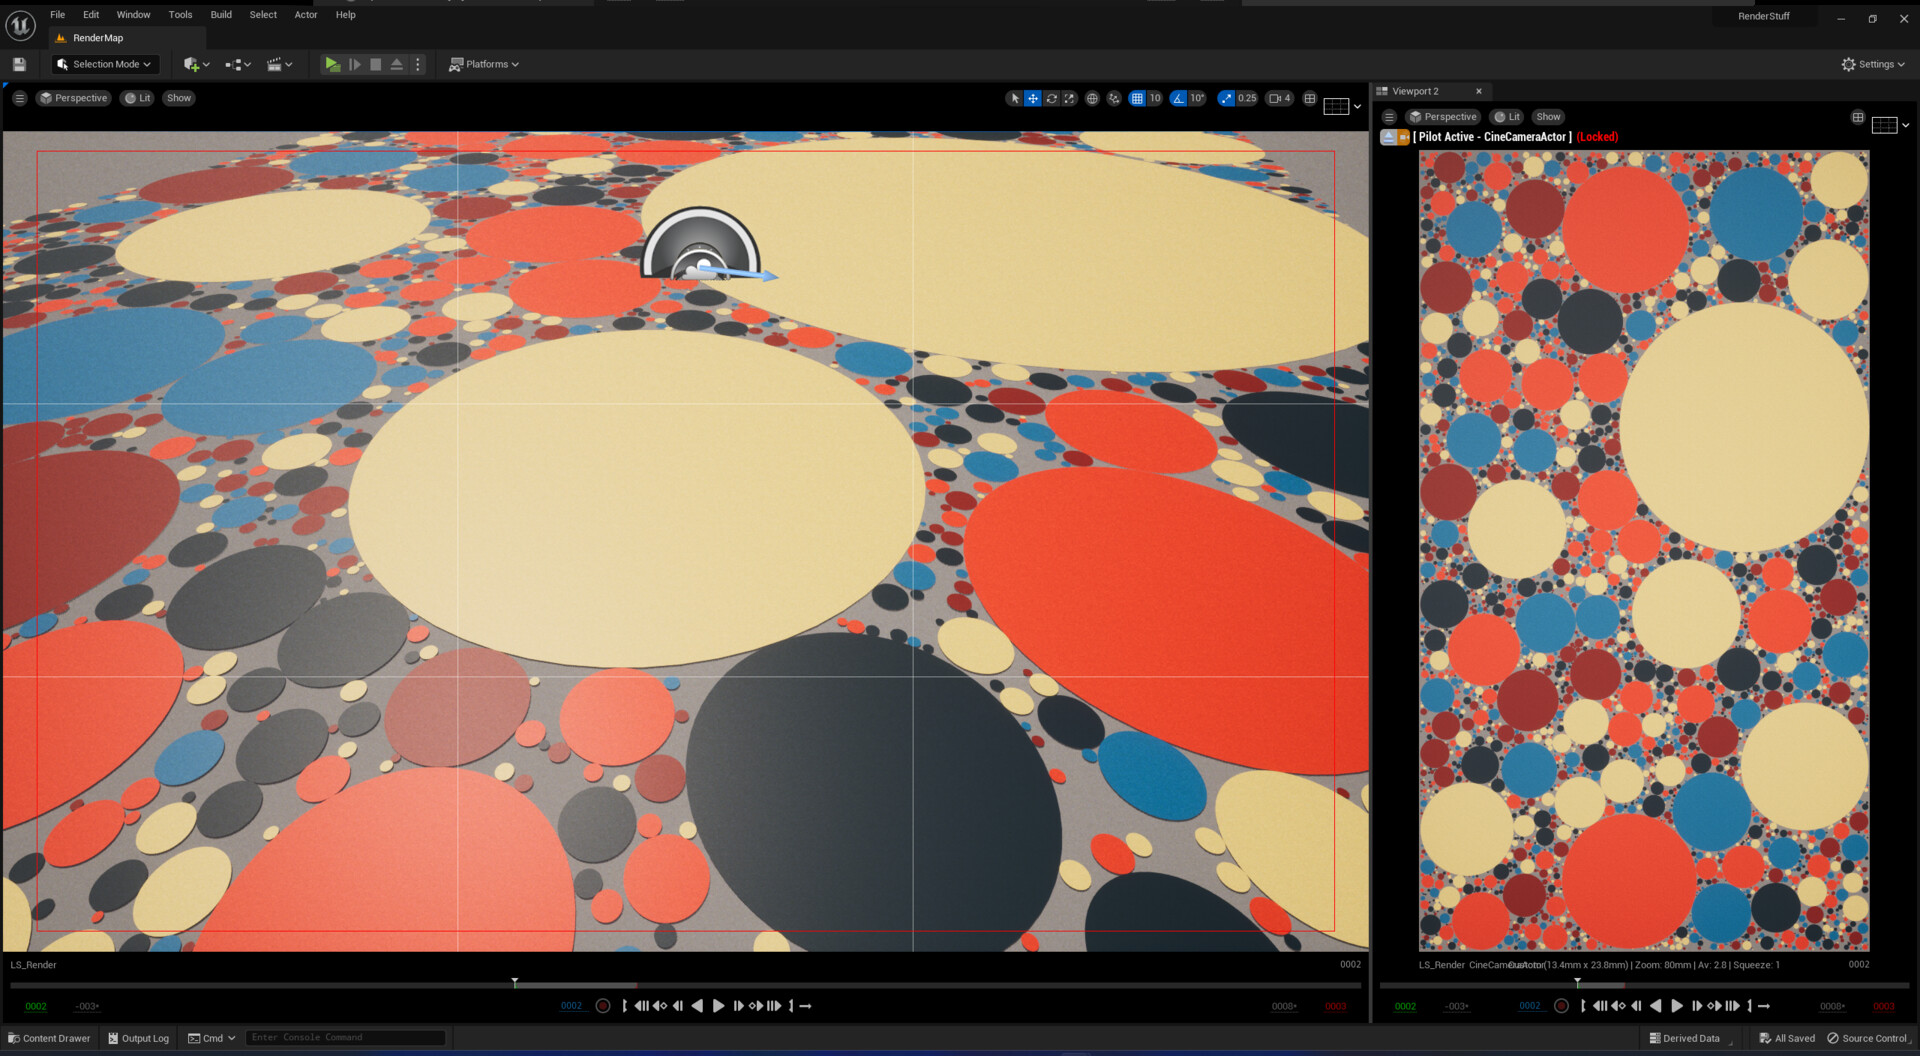
After generating the circles, I assigned a random value of red to each circle from a pre-defined list of values (0.2, 0.4, 0.6, 0.8, and 1) which was stored in the vertex color. I then exported the circles and imported them into Unreal Engine.
To add more visual appeal to the circles, I created a basic material inside Unreal that reads the vertex color of each circle and uses it as an index to pick from a color palette. By utilizing this technique, I was able to experiment and iterate with various colors, lighting, and camera setups to create a variety of wallpapers that showcase the beauty of this algorithm.
Conclusion
Overall, I had a lot of fun exploring this topic and experimenting with different techniques and parameters in Houdini. I find the results to be visually very satisfying, and I had a lot of fun figuring out the whole process as well as playing with colors, silhouettes, and shapes.
The images I have attached to this post are fairly high resolution so feel free to use them as wallpapers for your PC, laptop, and mobile devices.
If you're interested in exploring circle-packing algorithms, I highly recommend giving it a try. And if you made it this far, thank you for reading!
Resources
- Circle Packing: https://en.wikipedia.org/wiki/Circle_packing_theorem
- A Circle-Packing Algorithm: shorturl.at/alJUZ
- Matsys - Constellations: https://www.matsys.design/constellations
- Generative Circle Packing: https://designemergente.com/blog/circlepacking
- Random Circles with No Overlap: https://www.youtube.com/watch?v=XATr_jdh-44