Introduction
I will be starting a blog series on the development of short exercises. They won't be a step by step tutorial, but I do plan to show as much as possible. In terms of what to expect, most of the times they will be things that I got obsessed with after reading some book or article (fractals in this case), and I will try to use as much code as possible. There are a few stages when it comes to learning Houdini, but the one that seems to be the most daunting is learning VEX. Sadly VEX is the one that uncovers its full potential.

Topics covered
- Creating the equilateral triangle using two methods:
- Using just VEX.
- Inspired by technical drawing and taking advantage of some of Houdini´s "programming free" nodes.
- VEX code to generate the Koch snowflake inside Houdini's "For each loop" using the "Fetch Feedback" method.
- Connect the dots to thus create the geometry using VEX.
Overview
The Koch snowflake can be generated by starting with a shape with linear curves or segments, then recursively altering each line segment as follows:
- Divide the line segment into three segments of equal length.
- Draw an equilateral triangle that has the middle segment from step 1 as its base.
- Remove the line segment that is the base of the triangle from step 2.
The Koch snowflake is the limit approached as the above steps are followed indefinitely.
In my case, I will be starting from an equilateral triangle which is the most common case, but you can download the file and change the input for any custom curve you want and it will work.
My approach
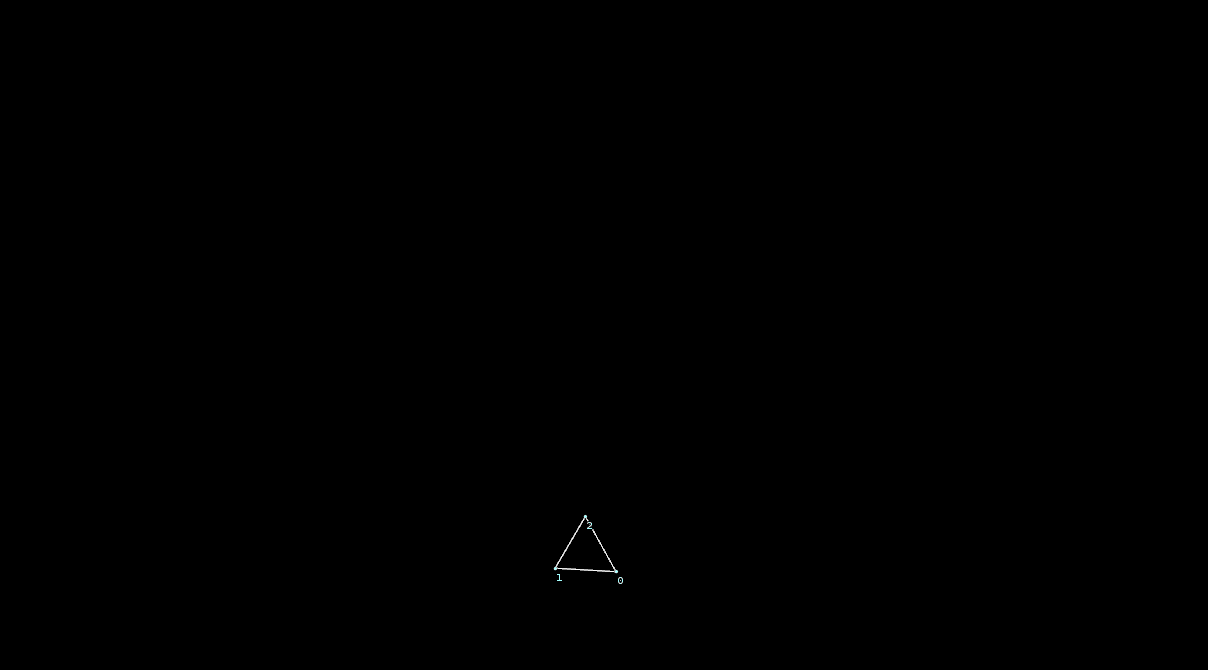
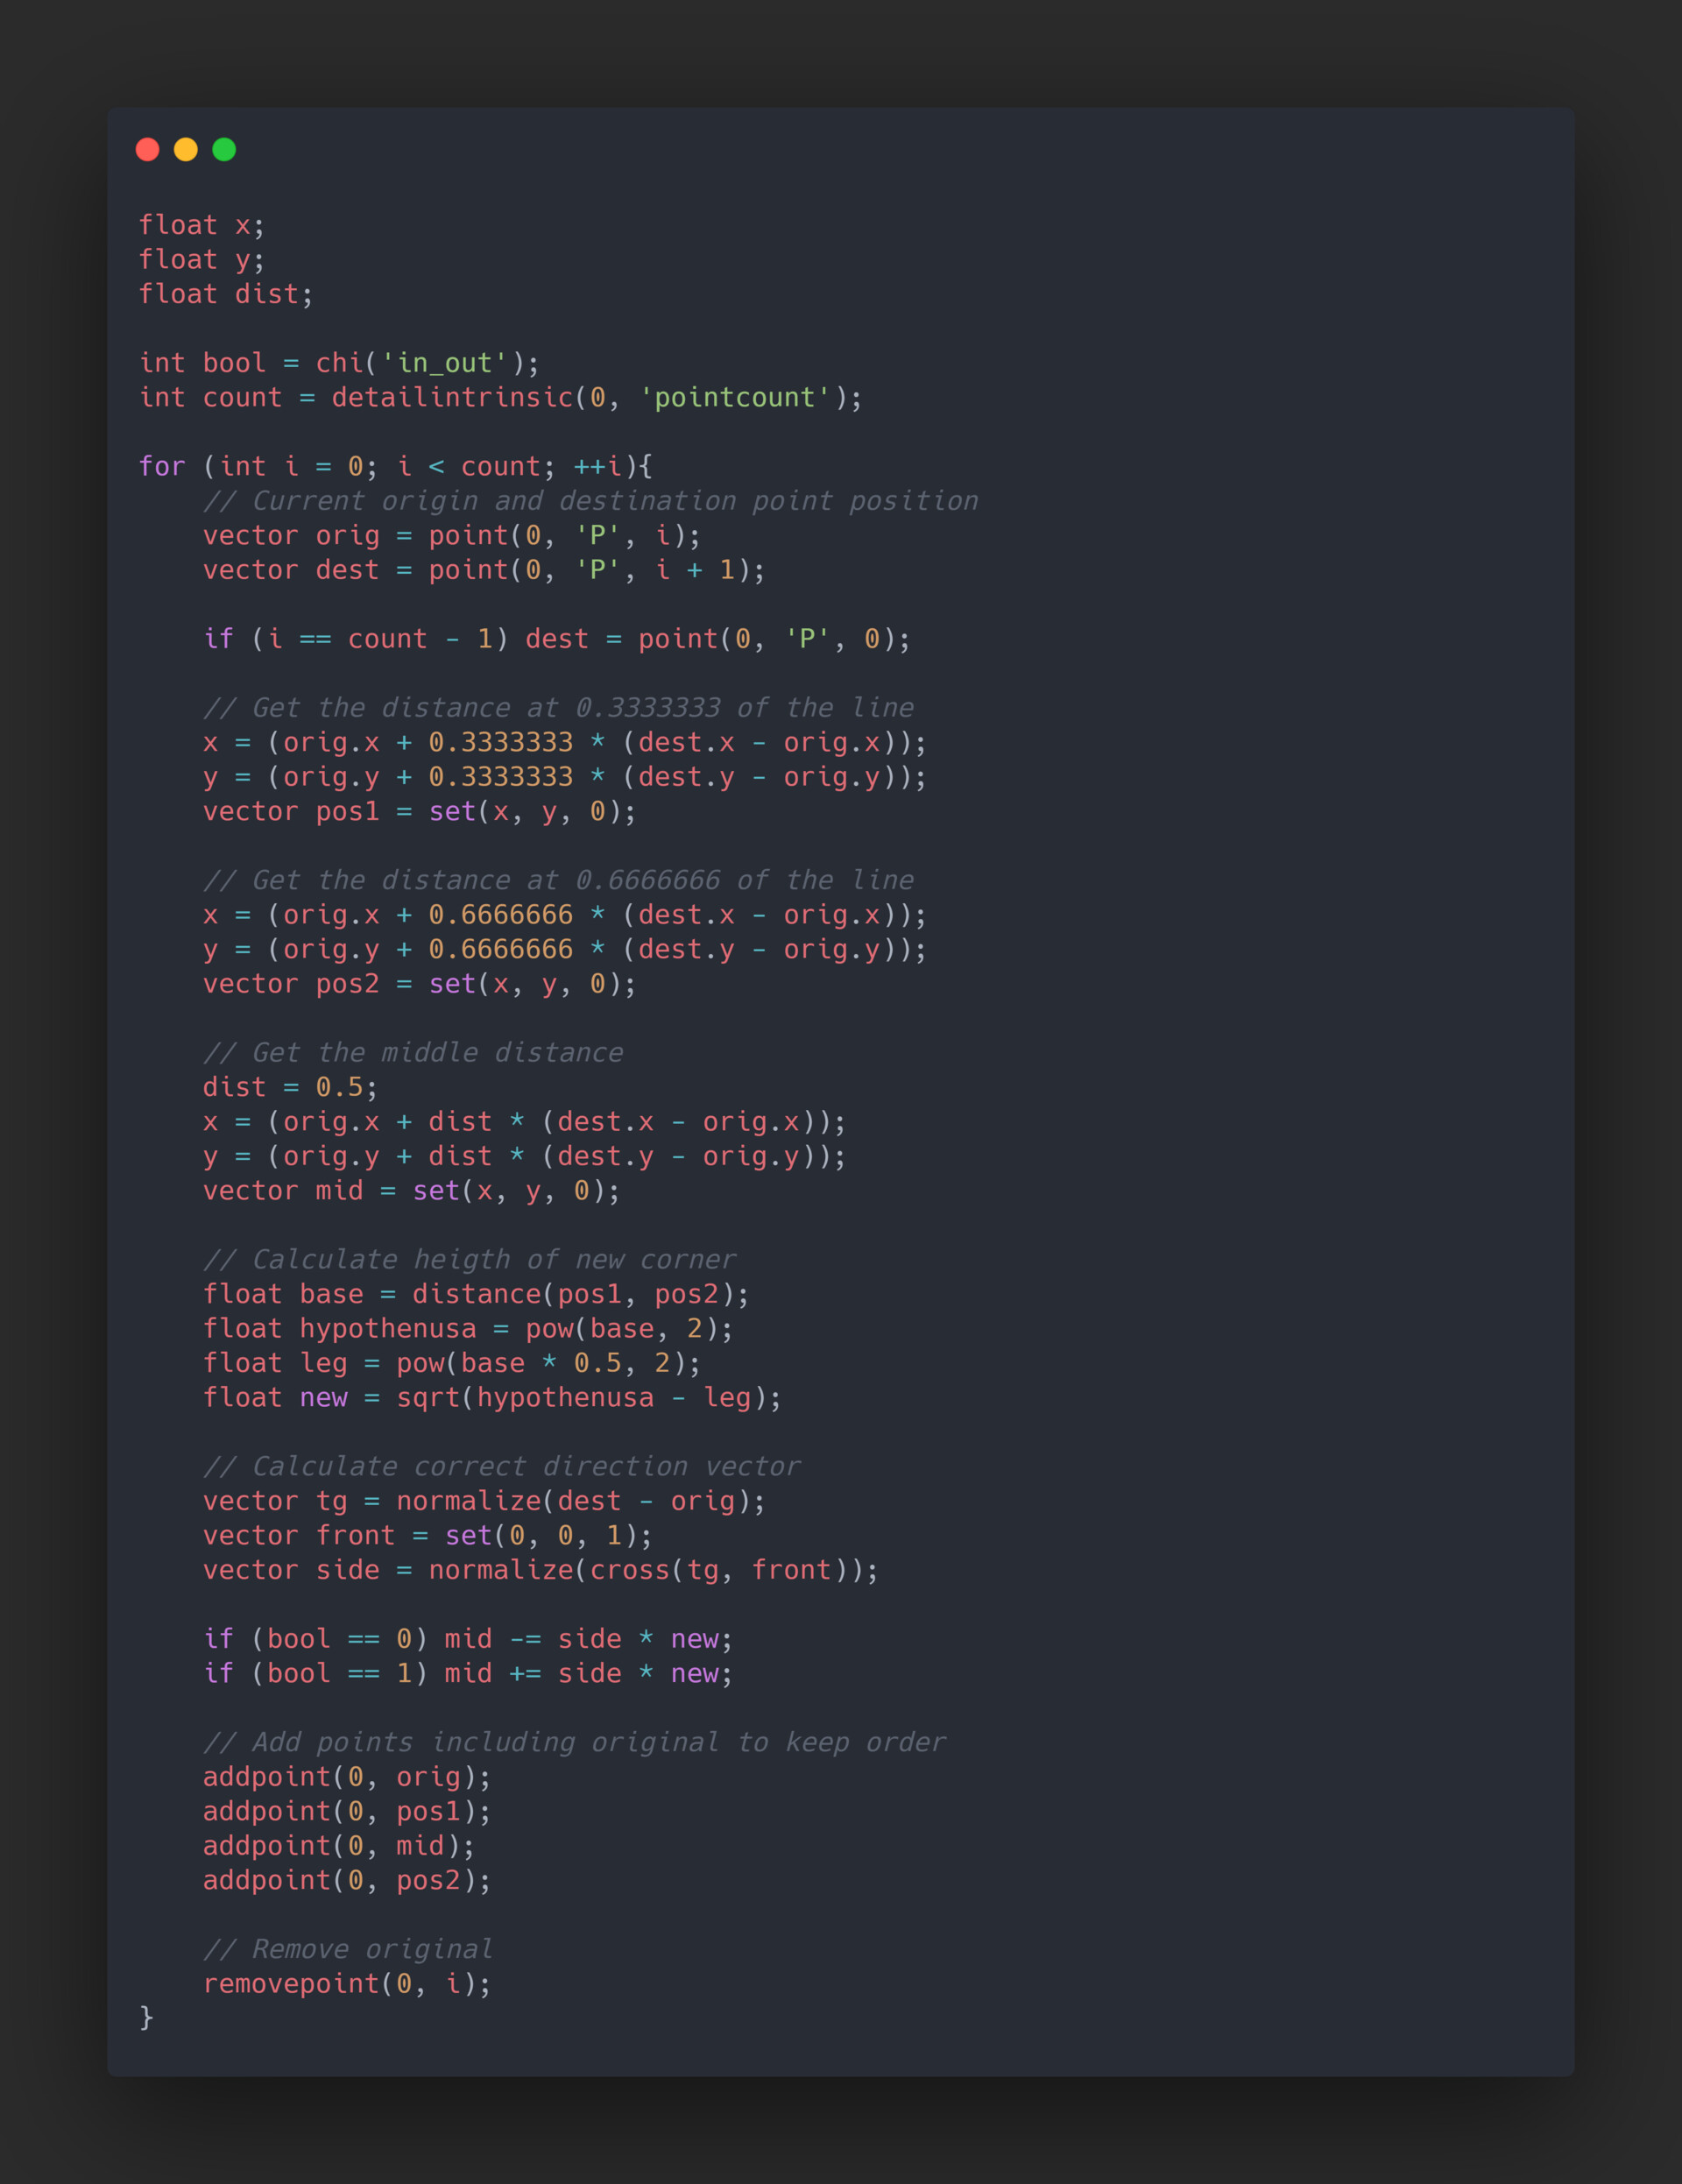
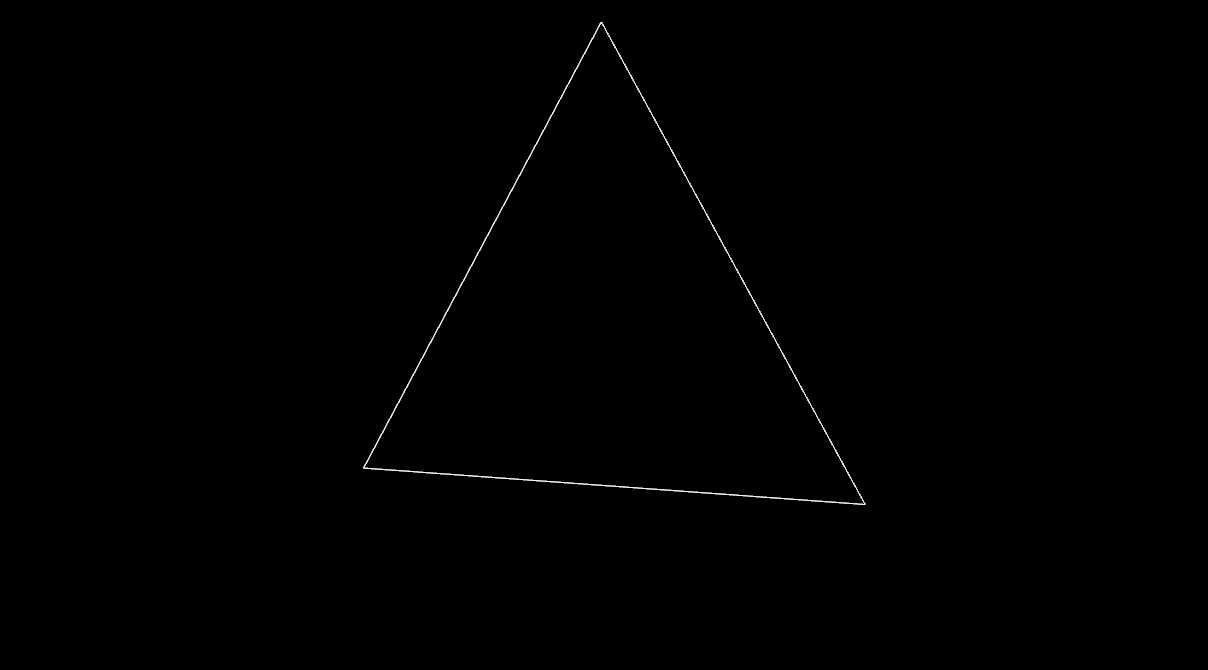
1. Constructing the equilateral triangle:
In this step and as mentioned above, the goal is to construct an equilateral triangle. I decided to do it using two different approaches, one being pure VEX, and the other one inspired by the "Technical Drawing" subject I had back in high school where for a while we would use a compass and the circles and arcs it creates to accomplish more complex shapes.
2.1. Math approach:
First I created two points in the 3D space where I knew I would only modify the X value, and I made it so that the two points are always equidistant by getting only one x input value from the exposed vector parameter, and multiplying the second point by negative one.
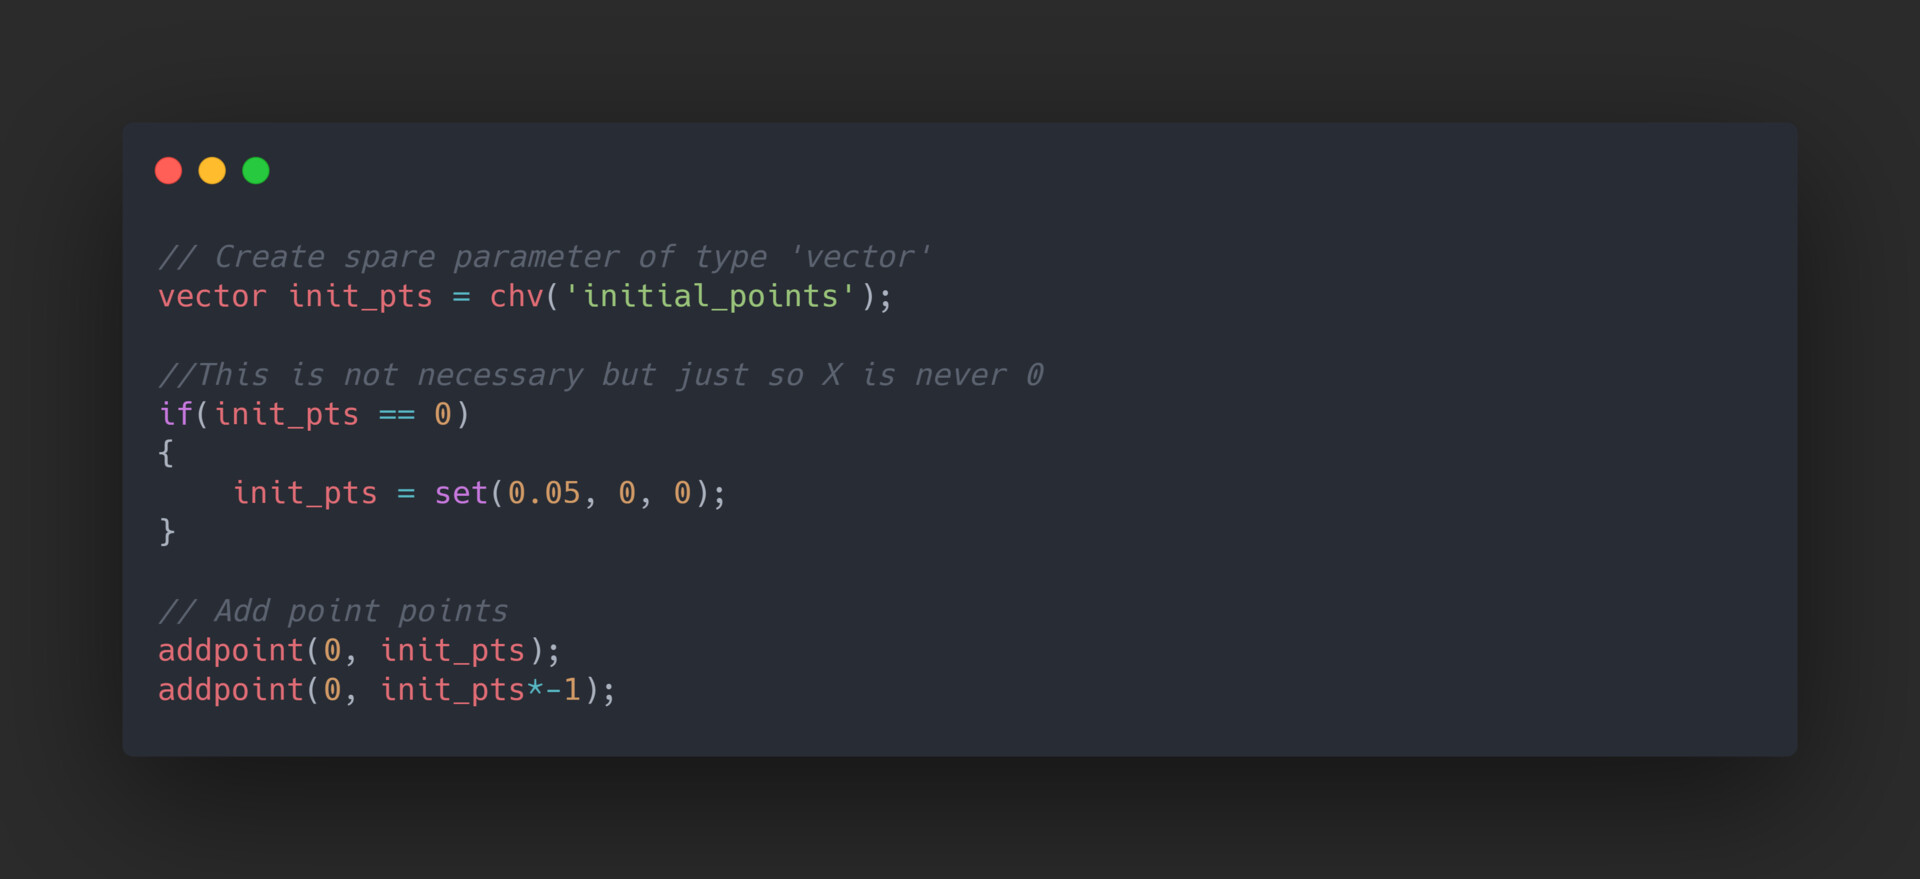

After that I applied the Pythagorean Theorem and as easy as that we got ourselves an equilateral triangle.

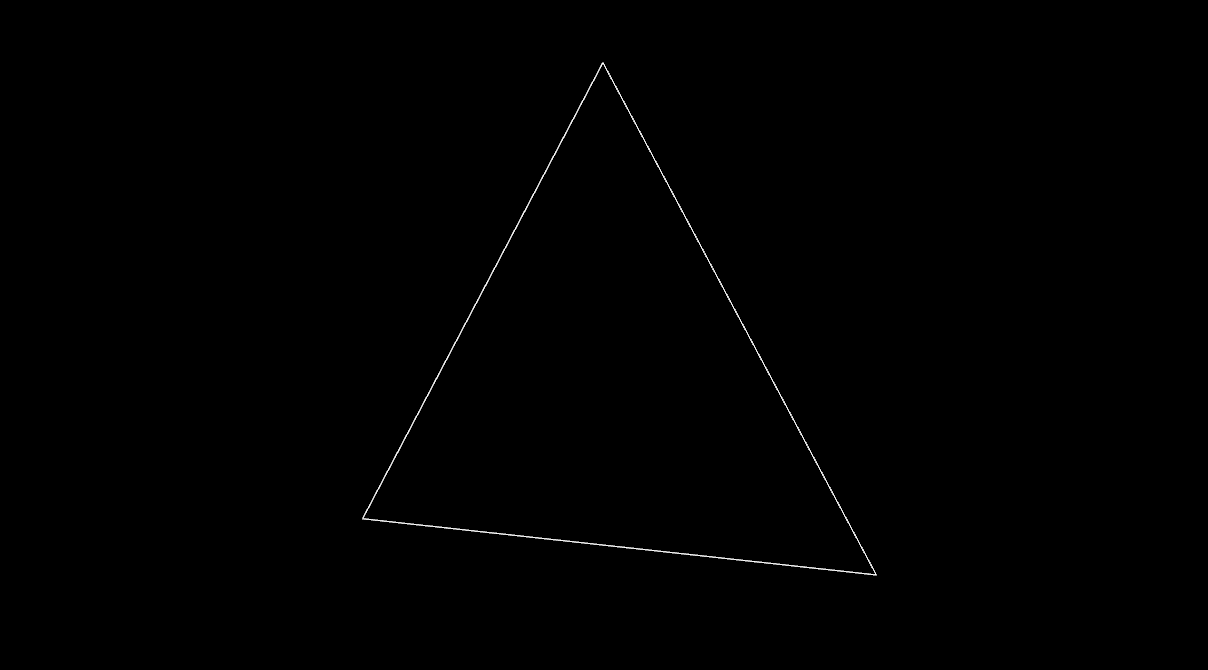
2.2. Technical drawing approach:
In this approach, the result is the same, but I tried to replicate the compass method of creating the triangle given a segment of length n and a compass:
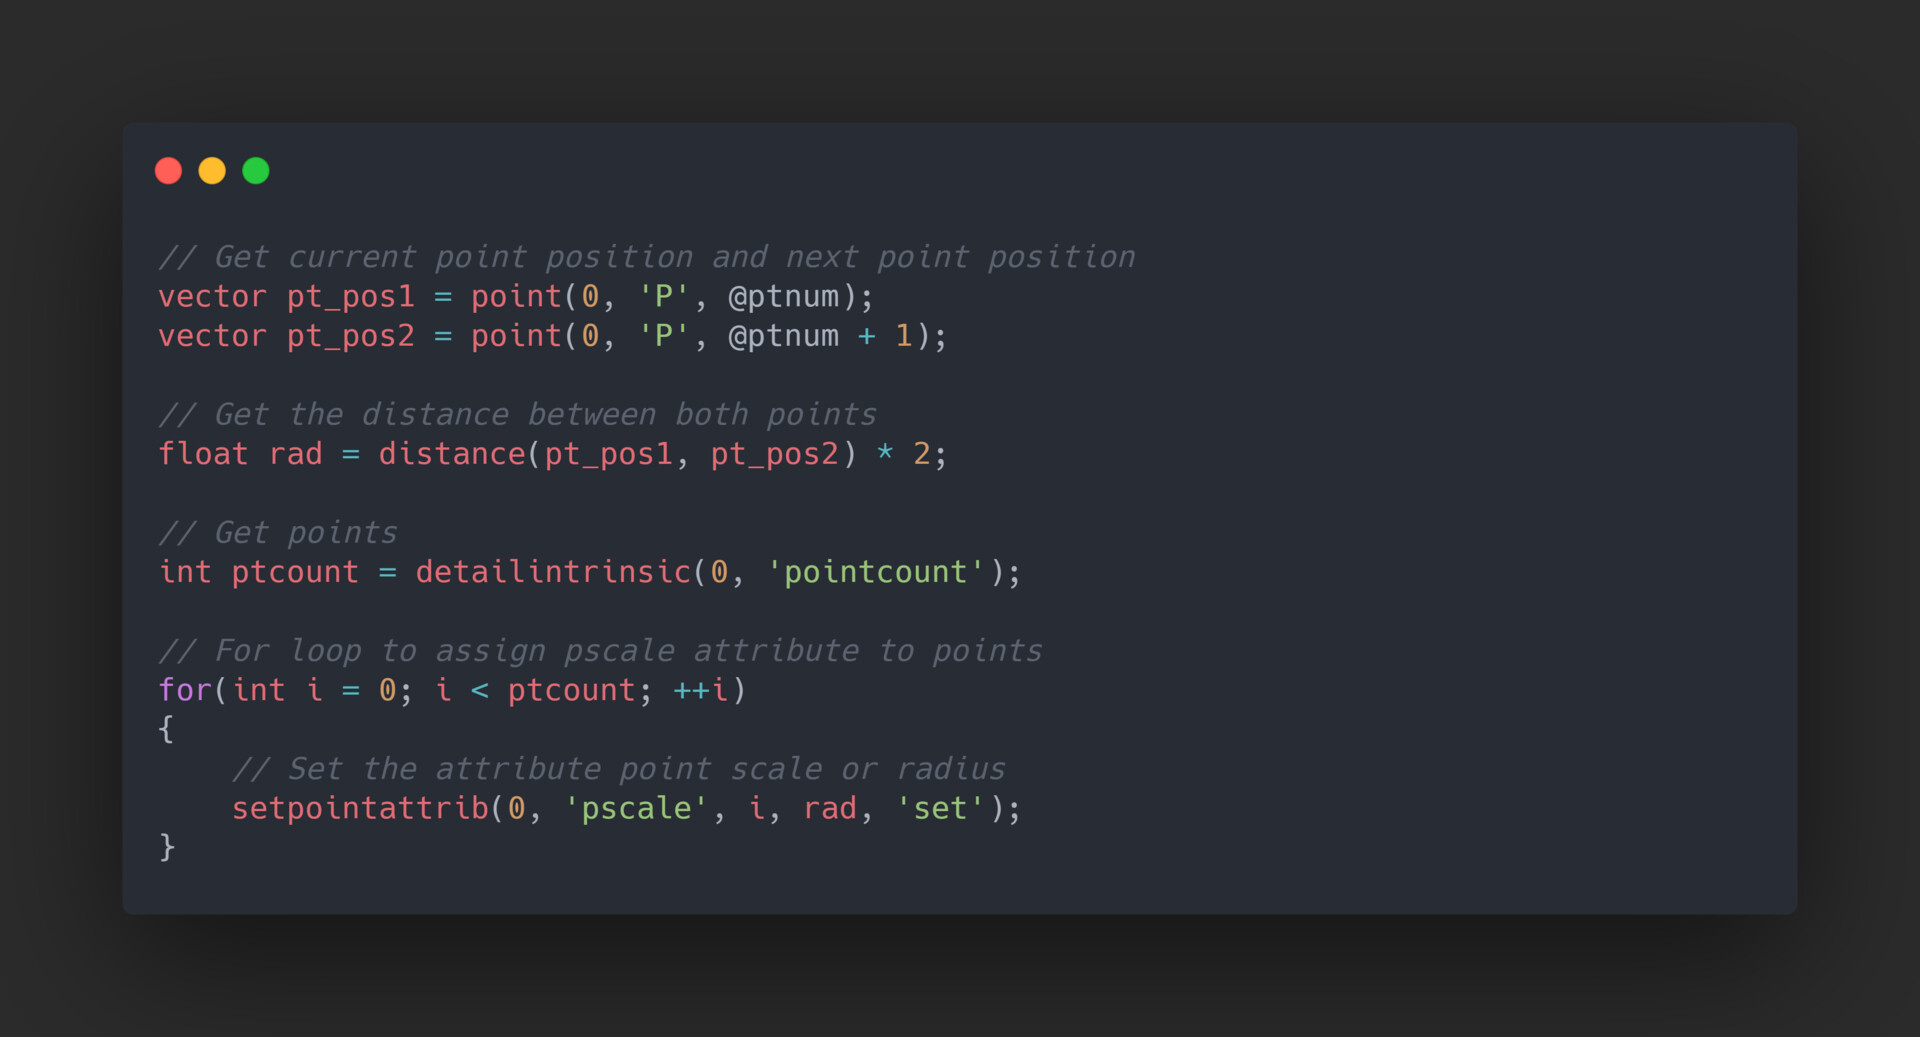
- In step one, we place the compass on point 0 and measure the distance to point 1, then swing an arc of this size above the segment. In my case I got the distance between those two points, and gave each point the "pscale" attribute (to replicate the diameter).
- Step two would be to do the same on point 1, until both arcs are intersecting. In my case, I used the "Copy to Points" nodes, which resizes the circle thanks to the attribute we set above.
- After that I run an "Attribute Wrangle" on "Primitives" to separate them into groups.

- Using the "Intersection Analysis" node we get the points of intersection. For our particular example all that's left is to remove the bottom point and merge it back with our initial two points to get the same equilateral triangle.

3. For each loop using fetch feedback:
Here's where I actually go over the points to create the position for each point on the final snowflake. The step followed are the ones I mentioned in the beginning of this post. Here's a more detailed explanation:
- I compute the position of 3 points. To know where they are, a bit of vector knowledge is needed. Starting from the unmodified segment being analyzed, we calculate the tangent between the next point and the current point, and we add a third of that value or 2 thirds to get a new segment.
- To draw an equilateral triangle that has the middle segment from step 1 as its base, we do the same process as step 1, but we add to the current point half of the size of the current segment. After that, we use the Pythagorean Theorem again to find the height of the new equilateral triangle, and using the tangent and the front vector, we do the cross product to know in which direction that point is.
- We can finally add the points in order, and remove the current point (because we just created a duplicate on top).


4. Polyline creation:
In this final step I used the "addprim" VEX function. Running a new "Attribute Wrangle" over "Points", I fed the function with the current point and the next one, and that's how we get our final "Koch Snowflake".

If instead of adding the height outwards, we subtract it, we get the inversed "Koch Snowflake".
Conclusion
I've had a lot of fun with this exercise, and fractals is a topic that I find fascinating so I will dig more into them in the future. I went one step ahead, and exported a bunch of fractals to UE5 to render them with Lumen just because :) If you are starting with Houdini and VEX, I hope that you’ve learned something and if you have any questions, feel free to send me a message and I’ll do my best to help.
I want to get the file: https://github.com/secarri/KochSnowflake
Thanks for reading,
Sergi