
RBF Interpolation: A Powerful Algorithm for Morphing Data
Introduction
In today’s article, I want to explore Radial Basis Function (RBF) interpolation. I got inspired by another GDC talk, this time from Steven Kosanovich, where he talked about Rumbleverse's Character Pipeline. He didn’t share exactly how they solved some of the challenges, but it got me thinking about potential ways of tackling them.
In this example, we’ll use this algorithm to morph an outfit (or a few) from one morphotype (male body) to another (female body) in Houdini.
While I chose Houdini to showcase this concept, the implementation is Python-based, which means it can be adapted to other tools, pipelines and DCC packages.
Let's jump into it :)
Do not confuse RBFs with RBF Interpolation. RBFs are mathematical functions used to represent relationships based on distance. Radial Basis Function Interpolation is the process of using RBFs to estimate values at unknown points based on known data.
What Is RBF Interpolation?
Imagine you're stretching a rubber sheet across a set of pins, where each pin represents a point you want the sheet to pass through. The way the sheet bends and adapts to the pins is akin to how RBF interpolation works in 3D. It takes a set of source points, target points, and query points, and smoothly maps the query points based on the source-to-target transformations.
RBF interpolation is particularly useful for:
- Morphing 3D meshes (e.g., adapting clothing or props to different character shapes or morphotypes).
- Rig setups or auto rig tools.
- Weight transfer.
- Animation.
In practical terms, RBF interpolation can be implemented in a multitude of software and different scenarios.
How Does RBF Work?
- Data Points: Imagine you have several points in 3D space, each representing a known value (like the positions of vertices on a character model). These are your “data points.”
- Basis Functions: RBF interpolation uses special functions that are centered around each of these data points. The most common basis function is the Gaussian function, which has a bell-shaped curve.
- Distance Matters: The influence of each data point on a new point (where we want to estimate a value) decreases as you move further away from it. This means that nearby points have a larger impact than those further away.
- Combining Influences: To find the value at an unknown point, we combine the influences of all known data points. Each known value is weighted based on its distance to the unknown point, using the basis functions.
The result is a smooth surface or function that passes through all the known data points and provides estimates at the unknown locations.
Example Overview
General process
- Import your data:
- Source
- Target
- Data that needs to be transferred or “morphed”.
- Establish a relationship between your source and your target data.
- Feed those three data sets into your RBF Interpolation algorithm.
- Use the algorithm's output to transform and adapt your data to the target.
Our example
In our example, these are the steps that I followed:
- Import the meshes (source, target, and the outfit).
- Use UV coordinates to morph the male to the female model.
- Scatter points to control resolution for faster computation.
- Use Python to implement RBF interpolation and transform the outfit points.
- Apply the transformations and refine the results.
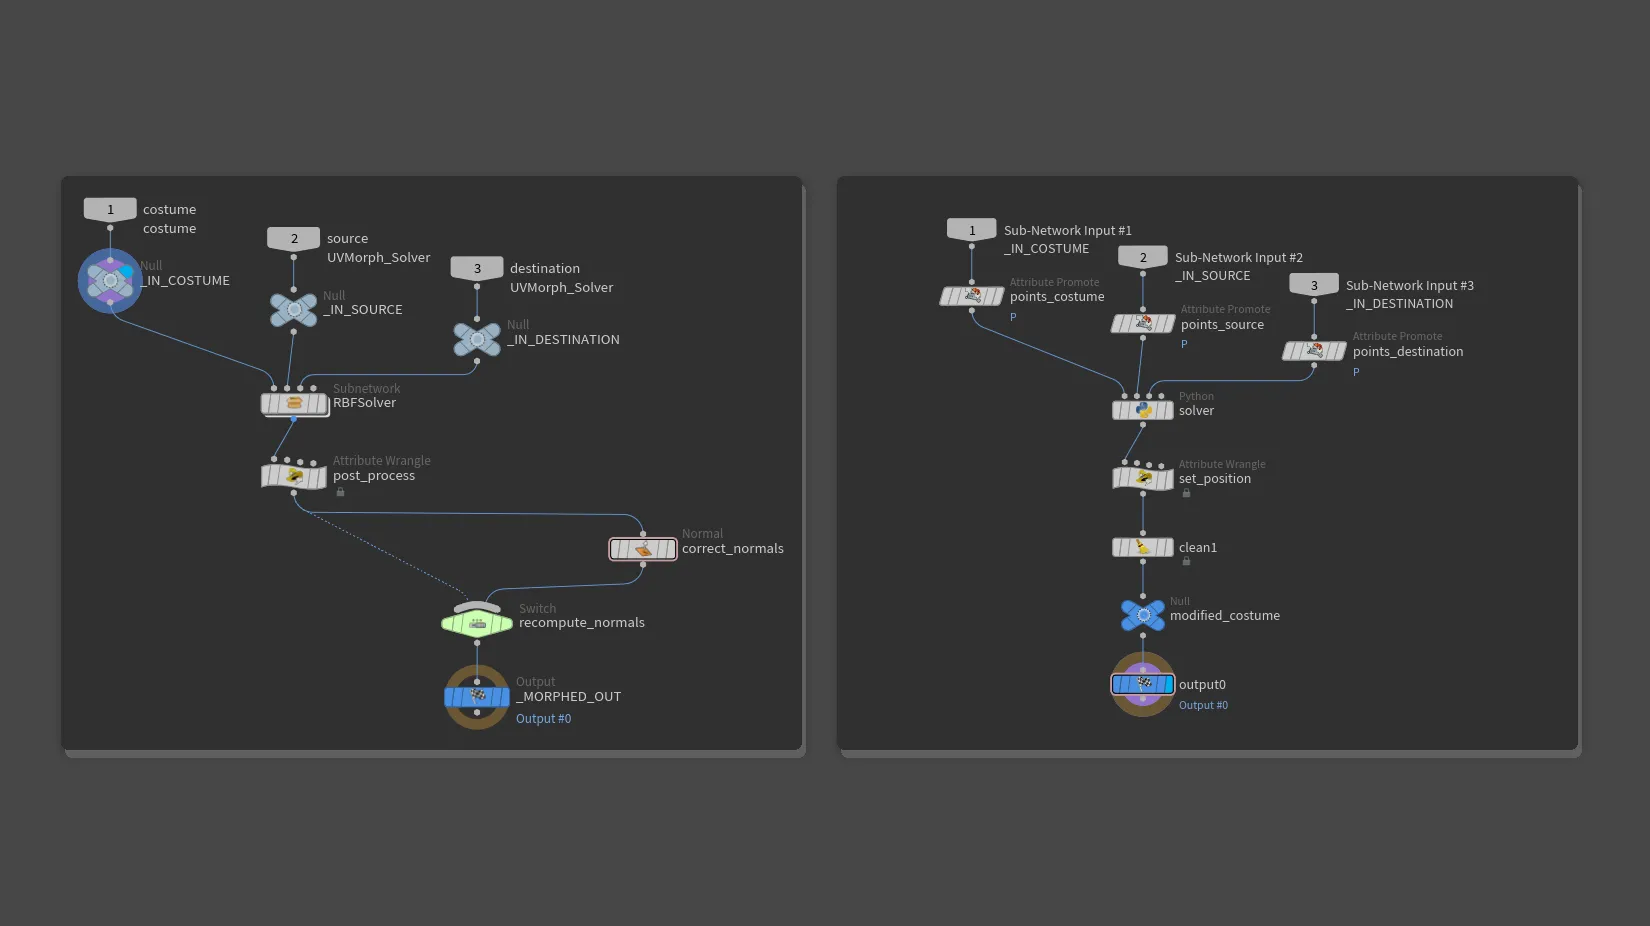
The important thing to note here is that each setup is different, and the method for obtaining source and target data and establishing their relationship will vary.
In some cases, you might get lucky, and the source and target meshes will share the same topology and vertex indices. This means you can directly use the vertices from both meshes as your data points for interpolation.
However, more often than not, this will not be the case. In these situations, you’ll need to check if their UVs match, create reference points that correspond to relative positions on both meshes, or come up with a creative solution to generate the necessary “source” and “target” points.
In a production environment, you can define guidelines or rules for character artists early on, which will make this task more manageable.
Step 1: Preparing the Scene
Importing Meshes
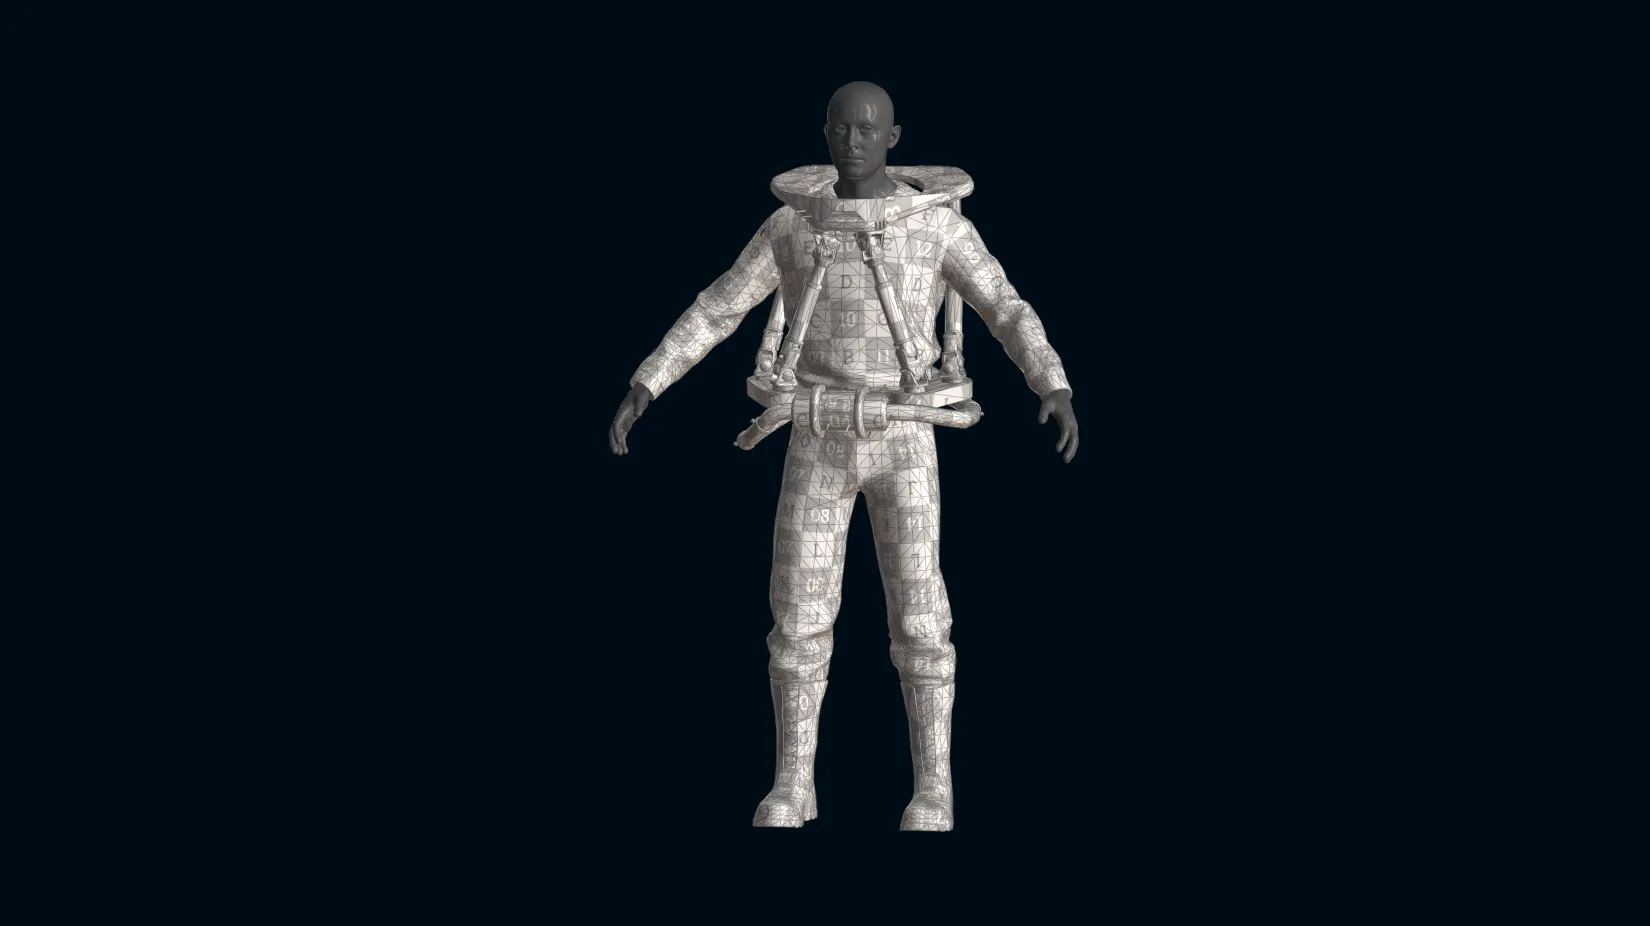
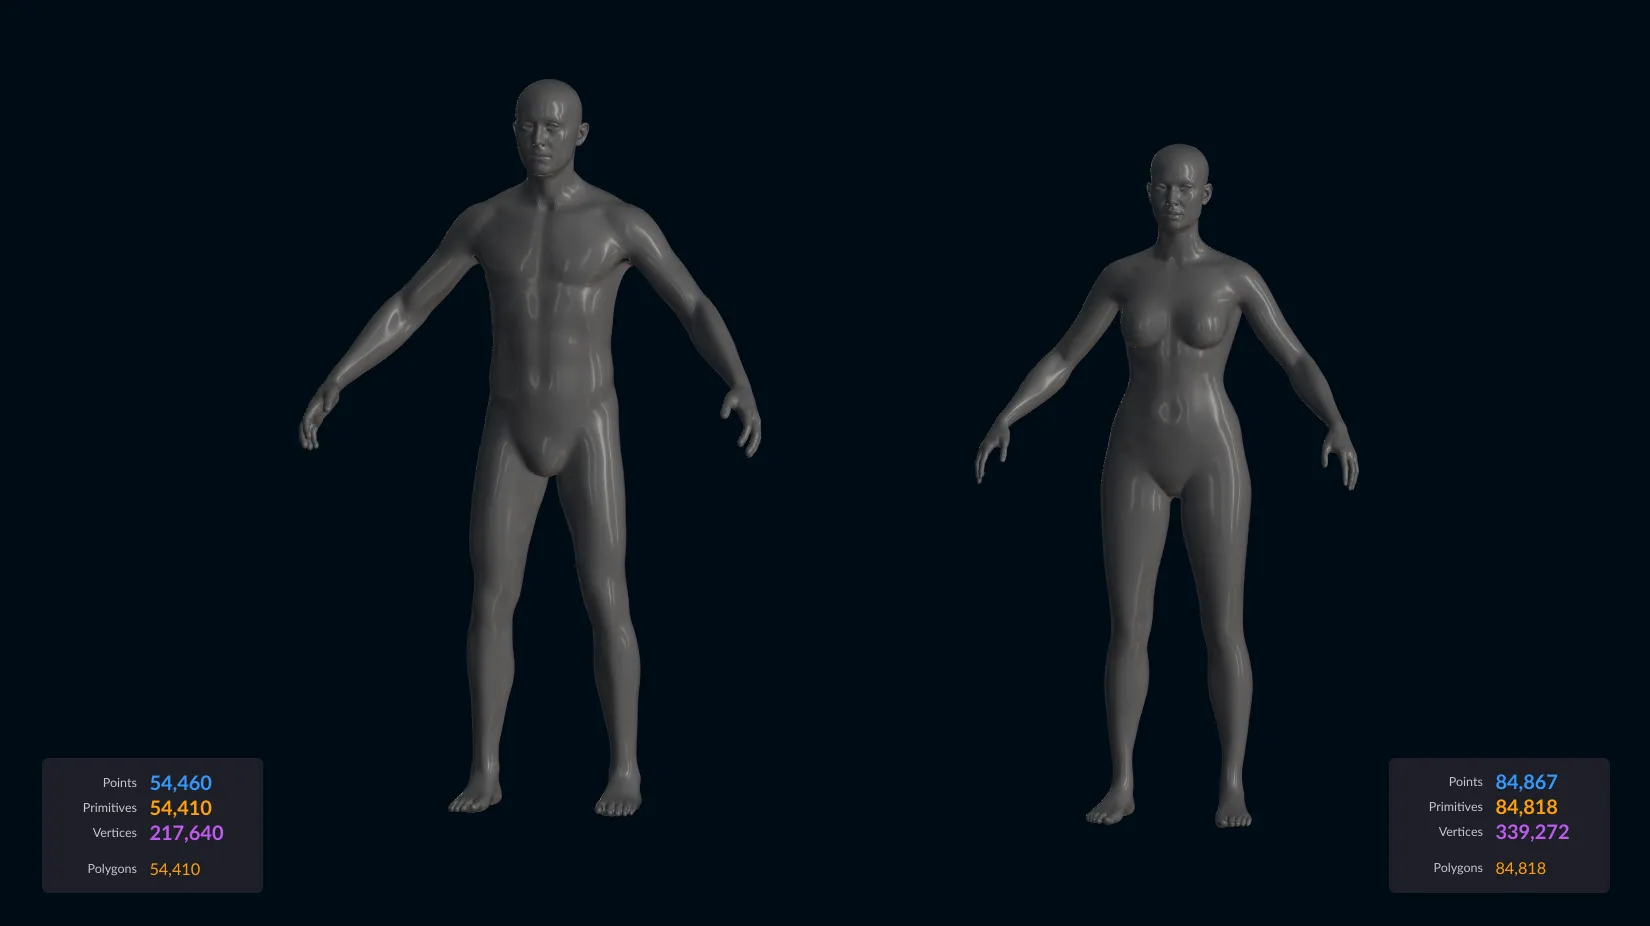
Bring in three meshes: the male model (source), the female model (target), and the outfit to morph. Like I said, the goal here is to get those “source” and “target|” points ready. In my case, the meshes come from Metahuman, so despite not having the same topology and polycount, they share UV’s. That’s why I had to add the next step.
Morphing the Source to the Target
The goal is to morph our source body into the target body. That way, even though they will be in different points in space, we will have the same amount of vertices and the same index. How do we do that?
We will use the uvsample function which uses UV coordinates to map the male body’s points to their corresponding locations on the female body.
We’ll get an attribute wrangle node and we’ll plug our male in the first input, and our female in the second one.
// We’ll find its associated vertex.
int vertex_index = pointvertex(0, @ptnum);

// We’ll retrieve the vertex's UV coordinates.
v@uv_position = vertex(0, "uv", vertex_index);

// Use these UV coordinates to sample the position attribute (P) from the second input geometry.
vector new = uvsample(1, "P", "uv", v@uv_position);

// Replace the current point's position with the sampled position.
@P = new;
Step 2: Generating an optimal Data Set
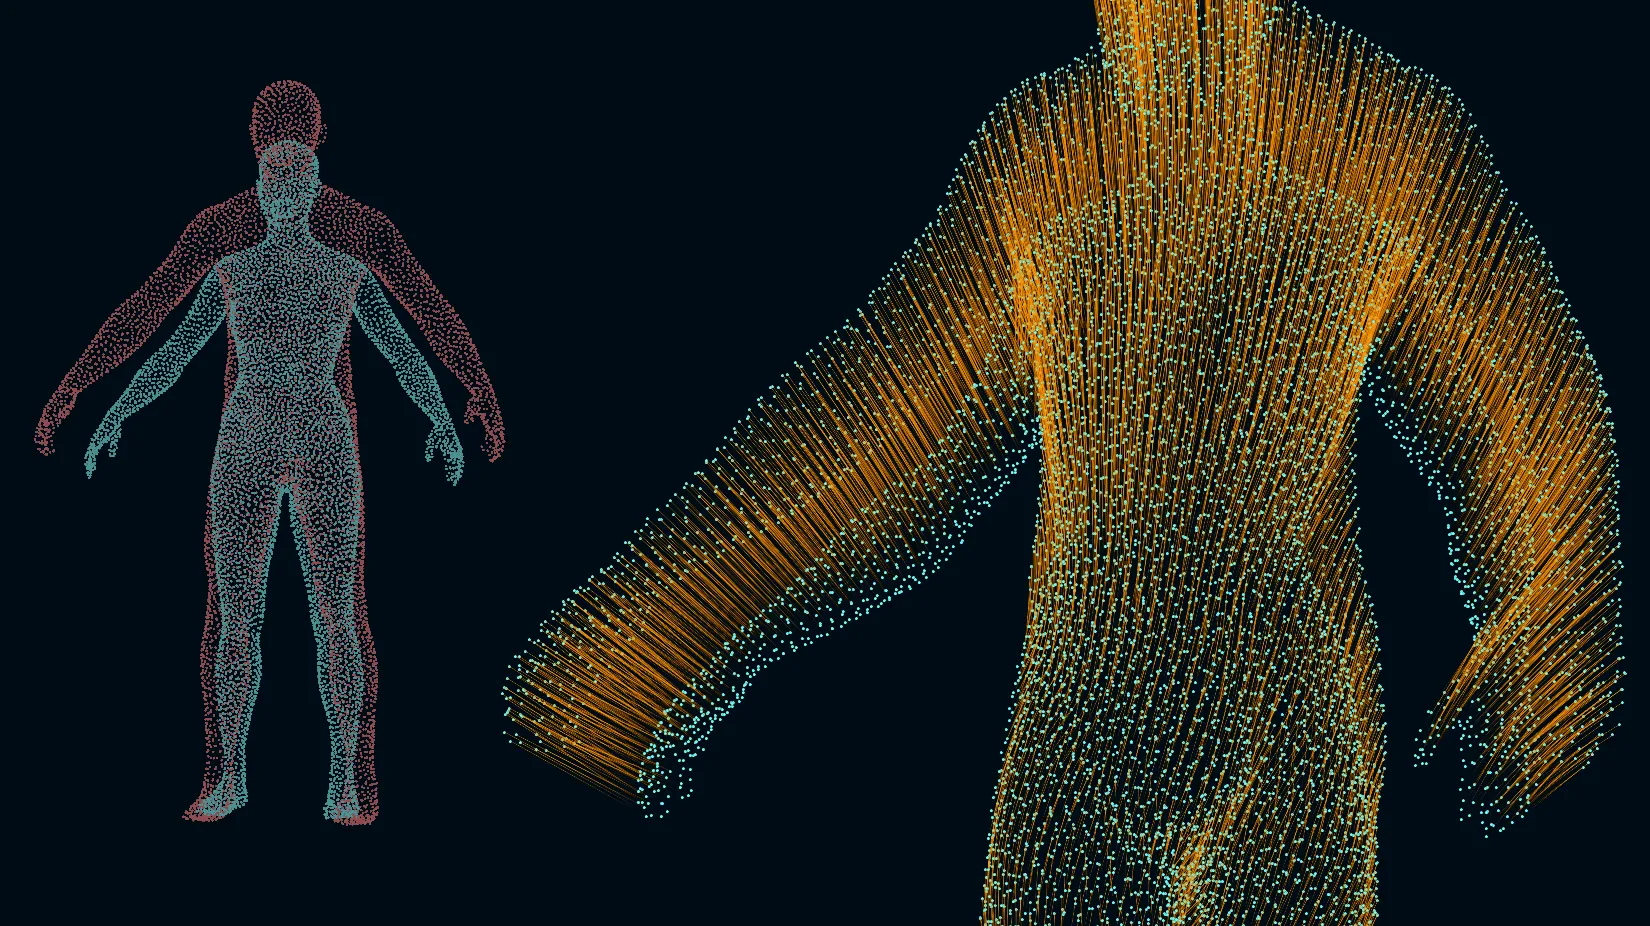
High-resolution meshes can slow down RBF interpolation significantly. To mitigate this, I scattered points on the source mesh, and I mapped them to my target mesh using the same technique showcased in “Step 1”.
It’s used as a “resolution” variable if you will. We can reduce the number of points making this fast while maintaining key features. For example, ~8000 points are sufficient for maintaining high accuracy while keeping processing time under 2 seconds.
Step 3: Python-Based RBF Interpolation
The core of the workflow is the Python code that performs RBF interpolation using SciPy. Here’s how it works:
Converting Points to NumPy Arrays
Houdini points must be converted to NumPy arrays for efficient processing. This function extracts point positions (P) and reshapes them:
def hou_points_to_numpy(node_geometry):
    return np.array([
        node_geometry.pointFloatAttribValues("P")[i:i+3]
        for i in range(0, len(node_geometry.pointFloatAttribValues("P")), 3)])
Applying the RBF Interpolator
The RBFInterpolator maps the outfit points (data_to_morph) using source (source_set) and target (target_set) points:
def interpolate_chunk(source_set, target_set, data_to_morph):
    rbf_interpolator = RBFInterpolator(orig_chunk, targ_chunk, kernel='linear')
    return rbf_interpolator(costume_points).tolist()
- Source points (
source_set): Scattered points on the male body. - Target points (
target_set): Corresponding points on the female body. - Outfit points (
data_to_morph): Points to morph.
Writing Back the Results
Once the interpolated positions are computed, they’re written back to Houdini attributes for visualization and further processing:
def transfer_newpos_to_attrs(points):
    geo = hou.pwd().geometry()
    geo.addAttrib(hou.attribType.Point, "nx", 0.0)
    geo.addAttrib(hou.attribType.Point, "ny", 0.0)
    geo.addAttrib(hou.attribType.Point, "nz", 0.0)

    geo.setPointFloatAttribValues("nx", [i[0] for i in points])
    geo.setPointFloatAttribValues("ny", [i[1] for i in points])
    geo.setPointFloatAttribValues("nz", [i[2] for i in points])
These attributes (nx, ny, nz) store the new point positions, which are then applied to the outfit mesh.
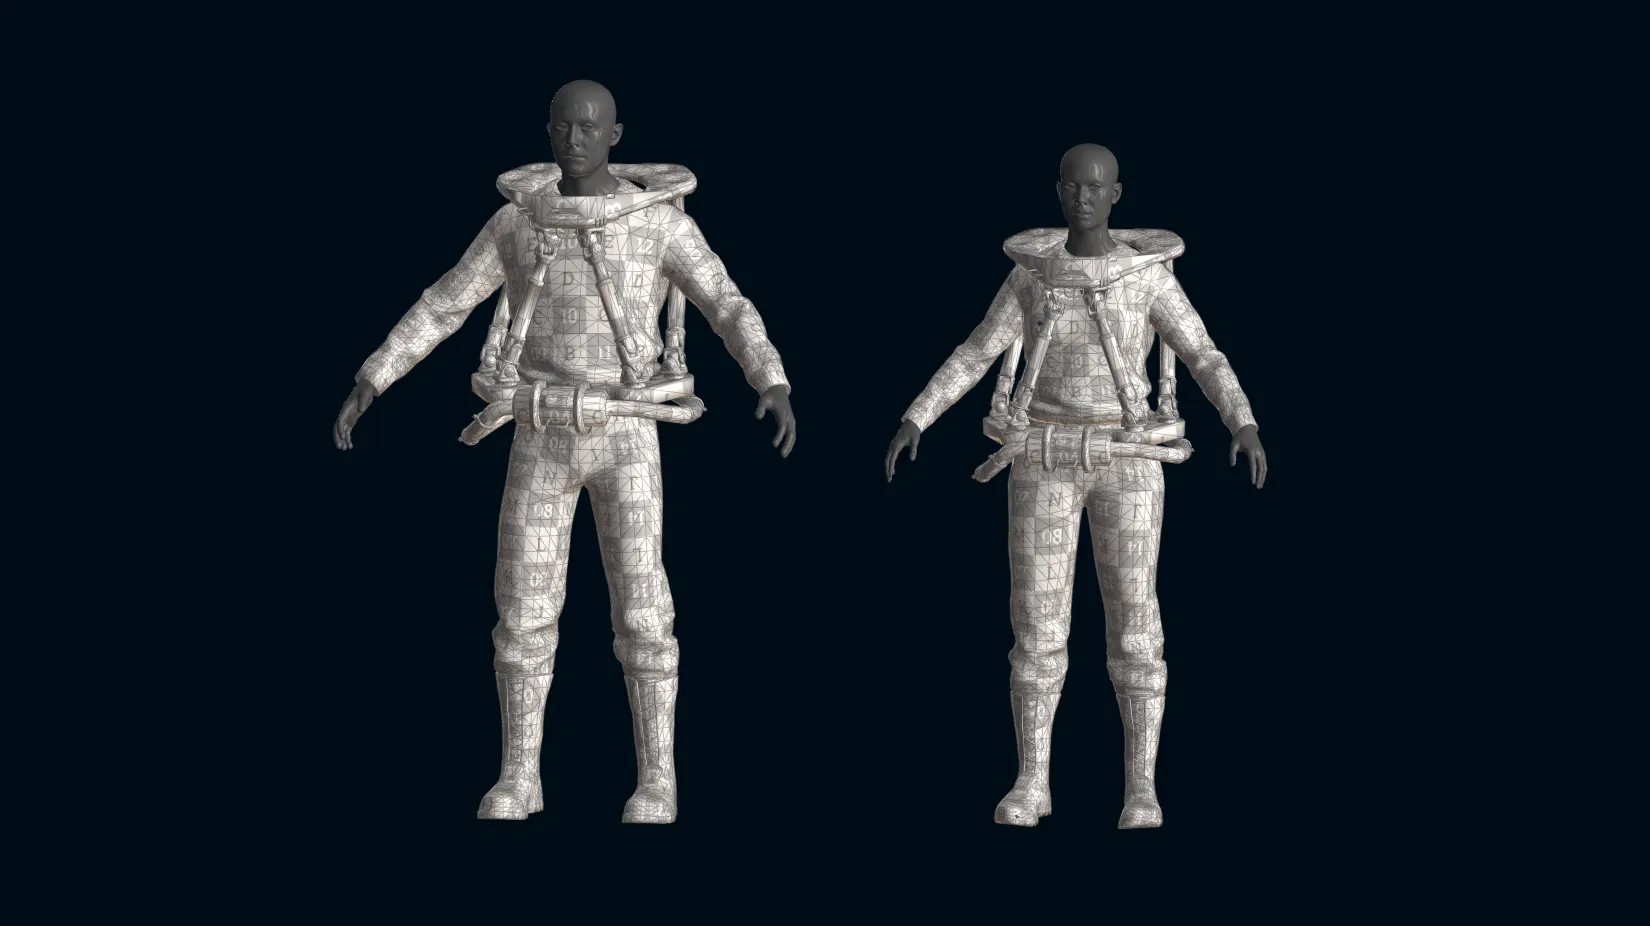
High-Fidelity Morphing
Now, one common challenge when doing this, is preserving the proportions of rigid parts like buttons, metallic details, accessories, pouches, or bags. Without additional processing, these elements often stretch or distort.
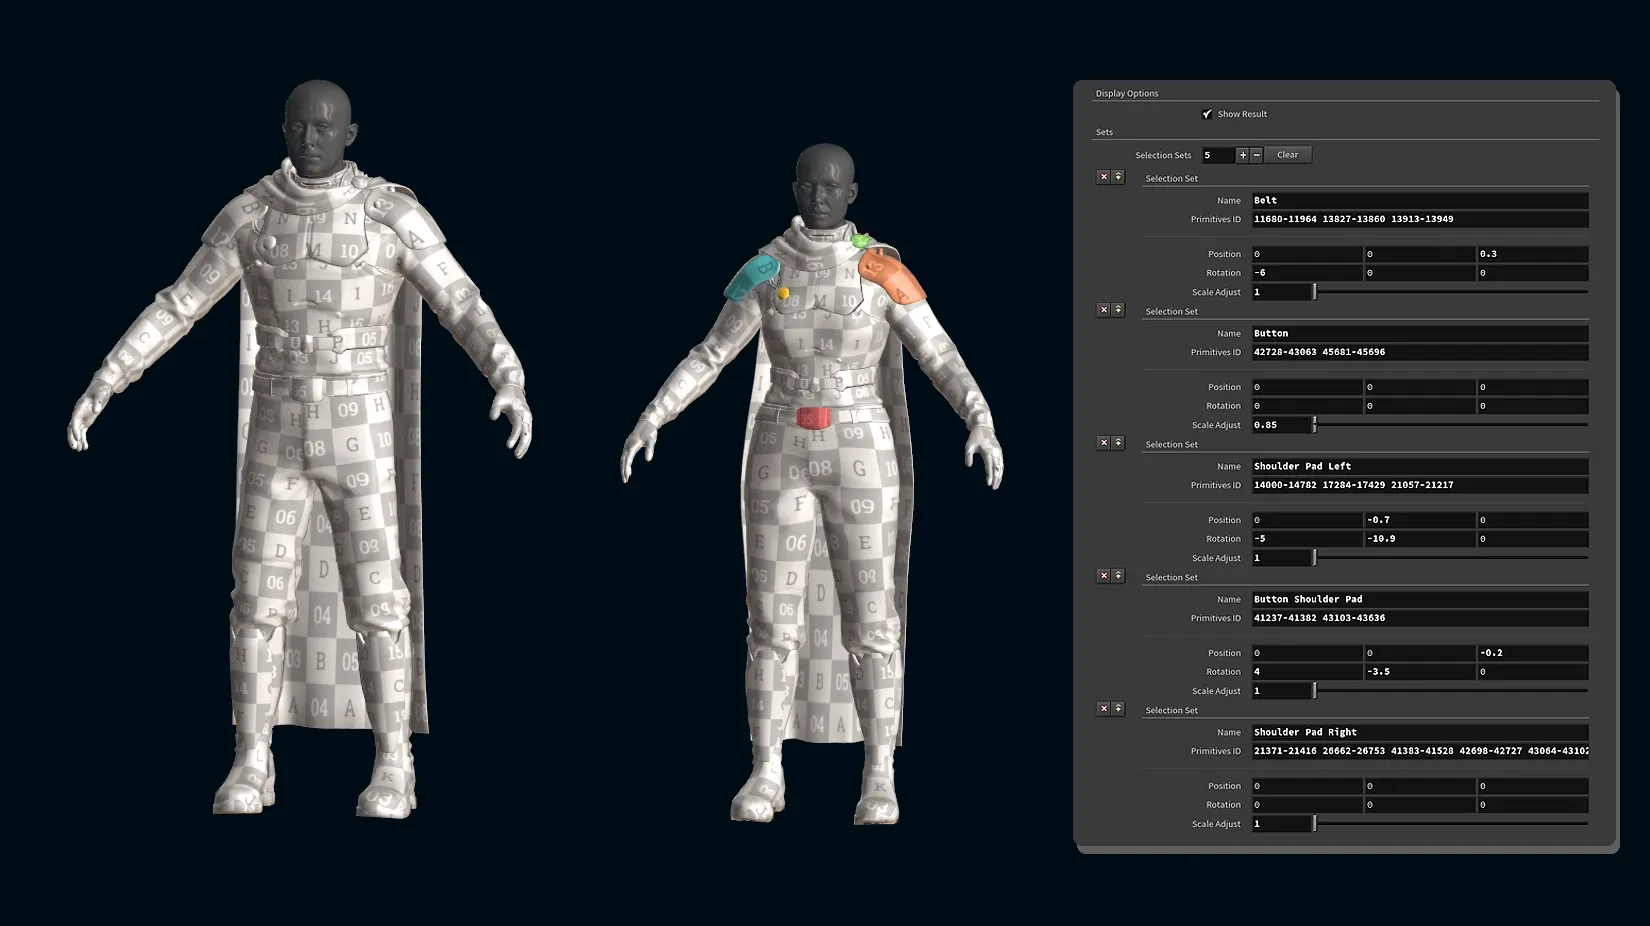
To address this, I’d introduce a post process step to “rigidify” vertices. This feature allows users to define specific parts of the mesh that should maintain their proportions during the morphing process, even as they are repositioned to fit the new body, achieving higher fidelity where rigid details should stay true to their original design.
The Rigidify Solver is an optional post-processing step that takes the morphed outfit as input and applies corrections to predefined mesh areas. Here's how it operates:
-
User-Defined Sets:
The solver's UI provides a multi-parameter field where users can define "sets" of mesh primitives to rigidify. For each set, users specify:
- Primitive IDs: The range of mesh primitives to treat as rigid (e.g.,
12718-13844). - Position Adjustment: A vector for fine-tuning the final position of the rigidified element.
- Rotation Adjustment: A vector for fine-tuning the orientation.
- Scale Adjustment: A scalar parameter to tweak the scale of the result.
- Primitive IDs: The range of mesh primitives to treat as rigid (e.g.,
-
Bounding Box Matching:
Inside the solver, each rigid set is processed in a loop. Using the bounding box of the selected primitives, the solver:
- Adjusts the original rigid part to match the target mesh while preserving its proportions.
- Matches the vertex positions of the rigidified set with the corrected placement using a simple vertex position transfer.
-
Adjustments:
Based on the center of the bounding box, the solver applies the user-defined position, rotation and scale tweaks for precise placement.
-
Final Output:
Once all rigidified sets have been processed, their corrected positions are applied to the morphed costume, ensuring a seamless blend of deformable and rigid components.
Conclusion
Hopefully this article gave you a glimpse into how RBF interpolation can help you tackle complex morphing challenges when it comes to transferring data between different meshes. Using Python, you can create a scalable and adaptable workflow that reduces processing time while maintaining accuracy.
Each scenario may require a slightly different solution, but you can find multiple ways of establishing a relationship between your source and target sets, to the point where you could create your own reference points by hand if both sets don’t share anything in common.
Beyond outfits, these methods are versatile and can be applied to rigging, weight transfer, prop adaptation, and animation workflows, making RBF interpolation a valuable tool for production pipelines.
And if you got here, thank you for reading 😄
Special Thanks

Last but not least, I want to extend my gratitude to Parallel Studios for providing the stunning 3D outfits to showcase the RBF interpolation algorithm. These outfits were part of the Parallel Avatars collection and will be playable as AI Agents in our upcoming games Colony and Project TauCeti.